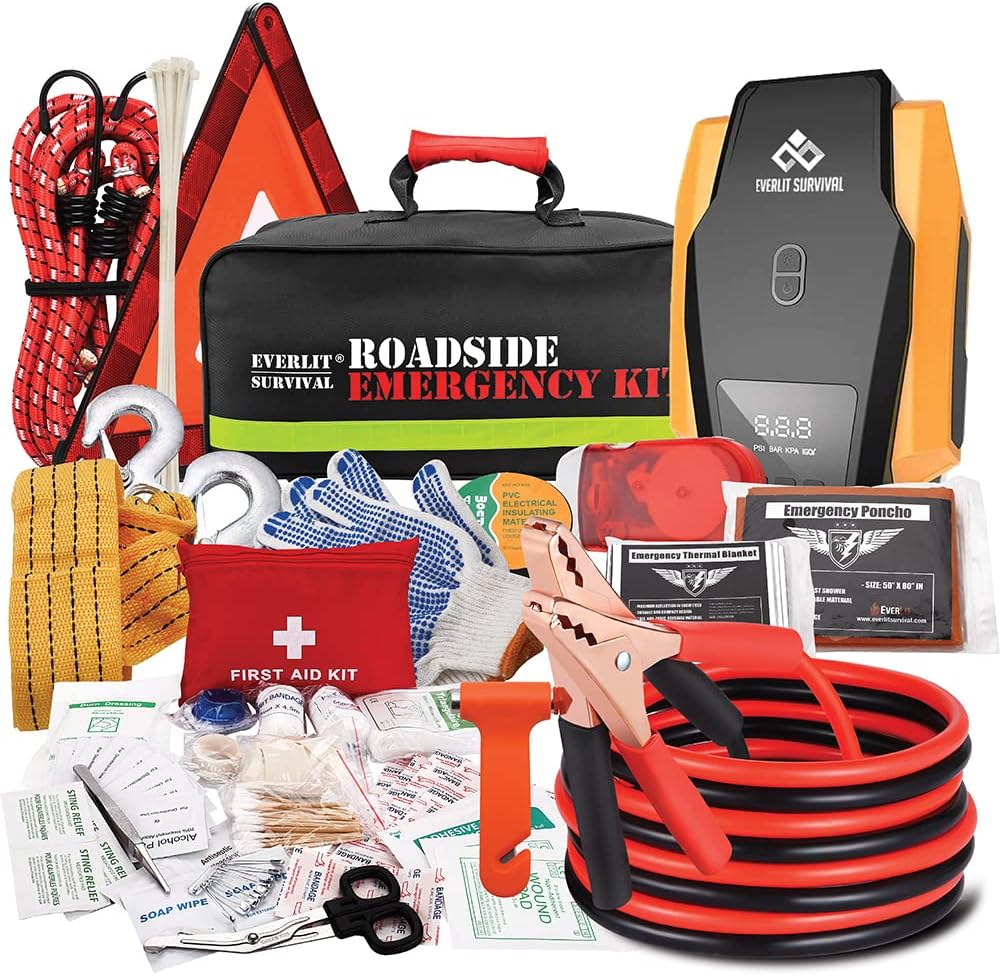
A portable car jump starter can help restore a vehicle with a weak or dead battery without another car. The correct model must match the vehicle’s battery type and engine size, especially for trucks, diesel engines, SUVs, and motorcycles.
To use one safely, the driver connects the red clamp to the positive terminal, attaches the black clamp to a suitable metal ground, powers on the unit, and starts the engine using short attempts. Proper safety checks, cable order, and regular charging reduce the risk of sparks, damage, or a failed start. Jason Miller of Tech9AutoRepair.com also emphasizes checking polarity protection and keeping the device ready for emergencies.
Key Takeaways
- Match the jump starter with the vehicle and battery.
- Connect the clamps carefully and use short start attempts.
- Charge and store the device so it stays ready.
Portable Jump Starter Basics
A portable jump starter stores electrical energy in an internal battery and sends it to a vehicle’s starter system. Correct clamp placement, suitable voltage, and enough battery capacity help the device start the engine safely.
Key Components And Controls
Most units include red and black jumper clamps, insulated cables, a power button, charge-level indicators, and a USB port for charging small devices. Some models also include a flashlight, an air compressor, or a screen that displays voltage.
The red clamp connects to the vehicle battery’s positive (+) terminal. The black clamp normally connects to the negative (-) terminal or a clean, unpainted metal part of the engine block, depending on the vehicle and the device instructions.
Safety features may include reverse-polarity protection, short-circuit protection, and low-voltage alarms. These features reduce risk but do not replace careful setup. The vehicle and jump starter should remain off while the clamps are attached, and the clamps must not touch each other.
Battery Capacity And Compatibility
The jump starter must match the vehicle’s electrical system. Most cars, motorcycles, and light trucks use a 12-volt battery, while some heavy vehicles use 24 volts. A 12-volt jump starter should not connect to a 24-volt system.
Manufacturers often list capacity in milliamp-hours (mAh) or watt-hours (Wh), along with peak and starting current. Capacity affects how many attempts the unit can support, while starting current affects its ability to crank an engine. Larger engines, diesel engines, and vehicles in cold weather usually need a stronger model.
| Vehicle type | Typical requirement |
|---|---|
| Motorcycle or small car | Compact 12-volt unit |
| Large gasoline engine | Higher starting-current rating |
| Diesel engine or truck | Heavy-duty unit rated for diesel use |
Pre-Start Safety Checks
A safe jump starts with a sound battery, an inspected jump starter, and enough space to work without contact with traffic or moving engine parts. The vehicle should remain off while the battery and work area receive a careful check.
Inspecting The Vehicle Battery
The battery should be inspected before any clamps are connected. The case must not show cracks, swelling, leaks, or other damage. A damaged battery can release acid or gas and should not be jump-started. The jump starter should also remain unused if its cables, clamps, or housing show damage.
The battery posts and terminals should be firmly attached and free from heavy corrosion. Light buildup can be cleaned with a battery brush, but loose, badly corroded, or damaged terminals need professional service. The positive terminal usually has a “+” mark or a red cover. The negative terminal has a “−” mark and connects to the vehicle’s ground.
| Check | Safe condition |
|---|---|
| Battery case | No cracks, swelling, or leaks |
| Terminals | Secure and clearly marked |
| Jump starter | Charged and undamaged |
| Vehicle | Ignition and electrical systems off |
The vehicle’s manual should be checked for special instructions. Some vehicles have designated jump points instead of direct battery connections.
Choosing A Safe Work Area
The vehicle should sit on firm, level ground away from traffic, water, and flammable materials. The parking brake should be set, and the transmission should be in Park for an automatic vehicle or Neutral for a manual vehicle. The wheels should face straight ahead when possible.
The engine must be off before the clamps are attached. Lights, the radio, climate controls, and other electrical accessories should also be turned off. The jump starter should stay away from belts, fans, pulleys, and other moving parts.
Good lighting helps identify the battery terminals and prevents incorrect connections. The person using the device should wear eye protection and keep metal objects, such as tools or jewelry, away from the battery. The jump starter’s manual should be available, especially if the unit has a special override or boost mode.
Preparing The Vehicle And Device
The vehicle should sit safely with the parking brake set and the transmission in Park or neutral. The jump starter should have enough charge, while the battery and cables should remain dry and free of damage.
Turning Off Electrical Loads
The driver should switch off the headlights, radio, climate control, interior lights, chargers, and other electrical accessories. The ignition must remain off, and the key or key fob should stay away from the vehicle’s start controls until the clamps are connected.
The vehicle should not receive a jump if the battery case is cracked, leaking, swollen, or frozen. The driver should also inspect the jump starter, clamps, and cables for cuts, loose parts, or exposed wires. A damaged device can cause a short circuit or injury.
The jump starter should match the vehicle’s system, usually 12 volts for cars, trucks, motorcycles, and many recreational vehicles. It should have enough starting current for the engine. The device should remain switched off before the clamps touch the battery.
Connecting The Clamps In Order
The driver should identify the battery’s positive (+) and negative (–) terminals. The red clamp connects to the positive terminal, and the black clamp connects to the negative terminal or an approved unpainted metal ground point on the engine. The device manual should take priority if it gives different instructions.
The clamps must not touch each other or any metal part at the same time. The driver should attach them firmly so they cannot slip. A common connection order is:
- Red clamp to the battery’s positive terminal.
- Black clamp to the negative terminal or a clean engine ground.
- Switch on the jump starter only after both clamps are secure.
If the device has reverse-polarity protection, its warning light or alarm may signal an incorrect connection. The driver should switch it off, remove the clamps, and correct the connections before trying again.
Starting the Engine
The jump starter must have enough charge, correct clamp placement, and a secure connection before the engine turns over. The driver should power on the unit only after attaching the clamps, then use short cranking attempts to protect the starter motor and jump pack.
Powering On The Unit
After connecting the red clamp to the battery’s positive (+) terminal, the driver should connect the black clamp to a clean, unpainted metal part of the engine block or chassis. A proper ground keeps the connection stable and reduces the chance of sparks near the battery.
The driver should check the jump starter’s display or indicator lights. A green or ready light usually confirms a suitable connection, while a warning light may indicate reversed polarity, a weak connection, or a battery with a serious fault. The driver should switch on the unit only when its instructions require manual activation.
If the unit has a boost or override mode, the driver should use it only when the manual permits it. This feature can disable some safety checks and increase the risk of sparks or damage if the clamps are misplaced.
Cranking Without Overloading The Starter
With the jump starter powered and ready, the driver should turn the vehicle’s ignition or press the start button for no more than three to five seconds. The driver should stop if the engine does not begin turning, then wait about 30 seconds before trying again.
Repeated, long cranking attempts can overheat the vehicle’s starter motor, cables, and jump pack. Most vehicles need only two or three short attempts. If the engine still does not start, the driver should stop and check the clamp positions, ground connection, fuel level, and vehicle manual.
Some jump starters have a low-voltage alarm or automatic shutoff. If the unit shuts down, the driver should disconnect it, allow it to cool, and inspect the battery before trying again. Once the engine starts, the driver should let it run before removing the clamps, following the unit’s instructions.
Disconnecting And Storing Equipment
The engine should run before the clamps come off, and the jump starter should be switched off before storage. Correct removal, cleaning, charging, and storage help prevent electrical damage and keep the device ready for later use.
Removing Clamps Safely
After the vehicle starts, the driver should let the engine run for a few minutes. The jump starter should remain clear of moving belts, fans, and hot engine parts.
The driver should switch off the jump starter first, if the model requires manual shutdown. He or she should then remove the clamps in reverse order:
- Remove the black clamp from the negative terminal or approved ground point.
- Remove the red clamp from the positive terminal.
- Keep the clamps from touching each other or any metal surface.
- Close the clamp covers, if provided.
Some models shut off automatically after the clamps disconnect. The driver should follow the manual if the unit uses a different order or has a special safety system.
The clamps should be checked for dirt, moisture, melted plastic, or loose cables. If corrosion appears on the battery terminals, the driver should clean it later with the vehicle switched off. The jump starter should not be used again if it shows heat damage, swelling, smoke, or a damaged cable.
Recharging The Jump Starter
The jump starter should be recharged soon after use, even if it still shows remaining power. The driver should use the supplied charger or a manufacturer-approved replacement and connect it to a dry, ventilated outlet.
The unit should remain on a stable surface while charging. It should not charge inside a hot vehicle, near water, or under clothing or other materials. The driver should wait until the charge indicator shows full power, then unplug the charger from the outlet and the device.
| Storage task | Recommended action |
|---|---|
| Charge level | Store it fully charged, or follow the manual’s required level |
| Location | Keep it in a cool, dry place away from direct sunlight |
| Cables | Coil them loosely without sharp bends |
| Inspection | Check the case, ports, clamps, and cables before use |
The driver should check the charge every few months because lithium batteries slowly lose power during storage. The unit should not remain in a vehicle during extreme heat or freezing conditions unless its manual permits those temperatures.
Troubleshooting Common Problems
A reverse-polarity alert usually means the clamps are connected incorrectly or are not making clean contact. If the engine does not start, the cause may involve weak connections, a low vehicle battery, or a fault in the vehicle’s starting system.
Reverse Polarity Alerts
Turn off the jump starter and remove both clamps before checking the connection. The red clamp must connect to the vehicle battery’s positive (+) terminal, while the black clamp must connect to the negative (−) terminal or an approved unpainted metal ground point.
Check that the terminals are clean and that each clamp grips bare metal firmly. Dirt, corrosion, loose clamps, or damaged cables can trigger an alert even when the polarity is correct. Do not continue if the alert remains active. Disconnect the clamps, inspect the cable and battery for damage, and check the jump starter’s manual for its warning-code meanings.
Never allow the red and black clamps to touch. Keep the jump starter away from fuel, sparks, and moving engine parts. For basic battery information, readers can consult car battery details.
Engine Does Not Start
Confirm that the jump starter has enough charge and that its power switch is on. Recheck the clamp positions, then wait two to three minutes so the vehicle battery can receive some charge. Try starting the engine for no more than five seconds at a time, and wait about 30 seconds between attempts.
If the engine turns slowly, the vehicle battery may be deeply discharged, damaged, or too cold. If the starter makes a single click, the vehicle may have a starter, fuse, cable, or ground fault. A fully charged jump starter cannot correct every vehicle problem.
Stop if the cables become hot, the battery leaks, swells, or smells strongly of sulfur. Disconnect the equipment and arrange professional service. If the engine starts, leave it running and remove the clamps in reverse order: black first, then red.
Maintenance And Long-Term Care
A portable jump starter needs regular charging and careful storage to remain ready. Keeping its battery within a safe charge range and protecting it from heat, cold, moisture, and physical damage helps preserve its performance.
Routine Charge Checks
Check the charge level after each use and at least once every three months. Recharge the unit according to its manual, even if it has not powered a vehicle. Many models use lithium-ion batteries, which can lose charge during storage.
Use the supplied charger or a manufacturer-approved replacement. Place the unit on a hard, dry surface while charging, and unplug it when the manual says charging has finished. Do not charge it if the case looks swollen, cracked, wet, or unusually hot.
Keep the jump starter between about 40% and 80% charge during long storage unless the manufacturer gives different instructions. Test the built-in flashlight, display, USB ports, and cable connections during each check. Damaged clamps, frayed wires, or loose plugs require replacement before the next emergency.
Protecting The Unit From Extreme Temperatures
Store the jump starter in a cool, dry place, such as a home storage cabinet. Avoid leaving it in a parked car, where summer heat can damage the battery and winter cold can reduce its starting power.
Do not charge or use the unit while it remains extremely cold or hot. Let it return to room temperature first, and follow the temperature limits in the manual. Keep it away from direct sunlight, heaters, water, and damp areas.
Store the unit in its case or another padded container so the clamps cannot touch metal objects. Clean dirt from the clamps with a dry cloth, and keep the terminals free of corrosion. If the battery swells, leaks, smells unusual, or shows physical damage, stop using the unit and follow local battery-disposal rules.
FAQs
Can a portable jump starter charge a dead battery?
No. It provides a short burst of power to start the engine. After the vehicle starts, the alternator may recharge the battery while the engine runs.
Does the jump starter need to be fully charged?
It should have enough charge for the vehicle. The exact requirement varies by engine size and device, so the user should check the manual before connecting it.
Which clamp connects first?
With both devices turned off, the user should connect the red clamp to the battery’s positive (+) terminal. The black clamp usually connects to the negative (-) terminal or an unpainted metal part of the engine, depending on the jump starter’s instructions.
How long should the user crank the engine?
The user should try for about three to five seconds. If the engine does not start, they should wait briefly before trying again. Repeated long cranking can overheat the starter.
What if the clamps spark or the warning light appears?
The user should stop, turn off the jump starter, and check the connections. The red and black clamps must not touch each other, and the device must match the vehicle’s battery type and voltage.
Can it start any vehicle?
No. The user should confirm that the jump starter supports the vehicle’s engine size, battery voltage, and fuel type. It should not be used on damaged, leaking, frozen, or swollen batteries.
Conclusion
A portable car jump starter gives a driver a way to restart a vehicle without another car. It should match the vehicle’s engine size and battery type, and it should have enough charge before use.
Safe operation depends on a few key steps:
- Turn off the vehicle and all electrical devices.
- Connect the red clamp to the positive terminal.
- Connect the black clamp to the negative terminal or a safe metal ground.
- Start the vehicle only after checking the connections.
- Remove the clamps in reverse order after the engine runs.
The driver should follow the jump starter’s manual because models may use different controls or safety features. If the vehicle does not start after a few attempts, the driver should stop and check for a damaged battery, poor connections, or another mechanical problem.
After use, the jump starter should be recharged and stored in a cool, dry place. Regular charging keeps it ready for future emergencies.