A clear, safe way to install a car stereo: gather the right tools, match wiring harnesses, and follow step-by-step mounting.
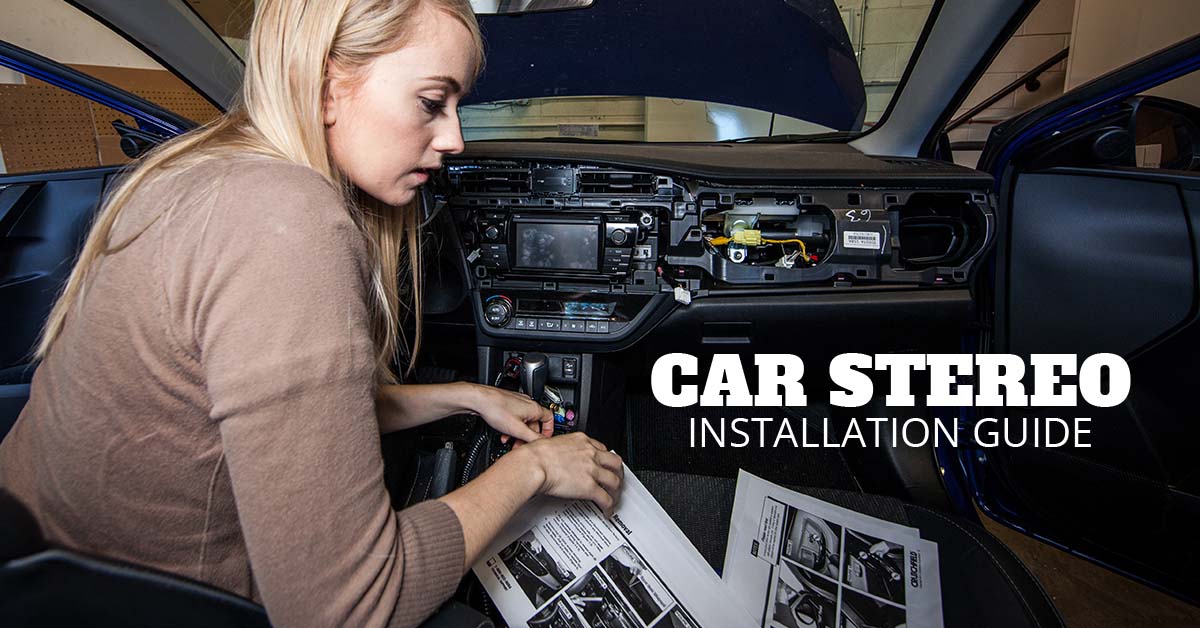
I’ve installed dozens of head units in cars, trucks, and vans. This guide shows how to install car stereo with clear steps, practical tips, and safety checks. You’ll learn which tools and parts to buy, how to match wires and harnesses, and how to avoid common mistakes. Read on to gain confidence and finish the job cleanly and safely.
Why upgrade your car stereo?
Upgrading a stereo can improve sound, usability, and phone integration. A new head unit adds Bluetooth, navigation, and better audio control. It can also increase resale value and driving comfort.

Tools and parts you’ll need
- Head unit (single-DIN or double-DIN) and mounting kit if needed.
- Wiring harness adapter that matches your car and new stereo.
- Dash kit or trim plate for a clean fit.
- Antenna adapter for some vehicles.
- Wire strippers, crimpers, and butt connectors or soldering tools.
- Multimeter to check power, ground, and speaker wires.
- Screwdrivers (Phillips and flat), socket set, and panel pry tools.
- Electrical tape and heat-shrink tubing.
- Zip ties and foam tape for vibration isolation.

How to install car stereo — Step-by-step guide
-
Prepare and plan.
- Read the stereo manual and your vehicle manual.
- Buy a vehicle-specific wiring harness adapter.
- Disconnect the negative battery terminal to avoid shorts.
-
Remove the factory stereo.
- Pry trim panels gently. Use the right tools to avoid damage.
- Remove mounting screws and pull the head unit out.
- Unplug the factory harness and antenna cable.
-
Match and connect the wiring.
- Match color-coded wires from the new stereo to the harness adapter.
- Use crimp connectors or solder and heat-shrink for secure joins.
- Connect constant 12V, switched ignition 12V, ground, speakers, and illumination.
-
Test the connections before final mounting.
- Reconnect the battery negative terminal.
- Turn the ignition to accessory and test power, sound, and Bluetooth.
- If something fails, recheck the wiring with a multimeter.
-
Mount the new stereo.
- Attach mounting brackets or dash kit as required.
- Slide the stereo into the dash and secure with screws.
- Reinstall trim panels carefully to avoid cracking.
-
Final setup and tuning.
- Program radio presets, pair your phone, and set audio levels.
- Lock down any loose wires and zip-tie them away from heat or moving parts.
- Drive and listen. Make small adjustments to EQ and balance.
Personal note: I once rushed a connection and had intermittent sound. After redoing the splice with solder and heat-shrink, the problem disappeared. Take time on wiring — it pays off.

Wiring and connections explained
Power and ground
- Constant 12V keeps memory for presets and clock.
- Switched 12V powers the unit when the car is on.
- Ground connects to clean metal on the chassis.
Speaker wires
- Each speaker has a positive and negative wire.
- Keep wire runs short and avoid running speaker and power wires together when possible.
- Match polarity to avoid out-of-phase sound.
Remote turn-on and amp connections
- The remote lead signals external amps to turn on.
- RCA outputs carry line-level signals to amps.
- Use a capacitor or ground loop isolator if engine noise appears in audio.
Antenna and steering controls
- Some cars need an antenna adapter for the port to fit.
- To keep steering wheel controls, use a compatible interface module and follow its wiring guide.
PAA-style question: Can I cut the vehicle harness wires directly? You can, but using a wiring harness adapter is safer. Adapters keep factory wiring intact and make removal easier.
PAA-style question: Do I need to disconnect the battery when installing? Yes. Disconnect the negative battery terminal to avoid shorts and protect electronics.
Mounting and finishing touches
- Use a dash kit to fill gaps and hold the stereo snug.
- Foam tape around the brackets reduces rattle.
- Reinstall all screws and trim in reverse order of removal.
- Test that vents and glove box still operate correctly.
Tip from experience: Keep small screws in a magnetic tray. Losing one inside the dash is an easy way to add hours to the job.
:max_bytes(150000):strip_icc()/installcarradio-5ae8d072fa6bcc003602b6af.jpg)
Testing and troubleshooting
- Verify power at the harness with a multimeter.
- Check speaker outputs with a phone test tone or test tone app.
- If no power, confirm the ignition-switched lead and constant lead.
- If one speaker is quiet, test for a broken wire or reversed polarity.
- For Bluetooth or radio reception issues, check antenna connections and software settings.
PAA-style question: How long does it take to install a car stereo? Most installs take 1 to 3 hours for a single unit in a typical car. Complex cars or adding amps will take longer.
PAA-style question: Will installing a new stereo void my car warranty? Installing an aftermarket stereo usually does not void the whole car warranty. However, improper installation that causes damage may affect related systems.
Common mistakes and safety tips
- Rushing wiring splices leads to intermittent faults.
- Using electrical tape alone is not as reliable as heat-shrink or solder.
- Forgetting the ground causes noise or failure to power up.
- Cutting factory wiring without a harness adapter makes future repairs hard.
- Always disconnect the battery and work in a dry, well-lit area.
Safety tip: Wear eye protection when working under dash panels. Keep metal tools away from battery terminals and airbag connectors.

Frequently Asked Questions of how to install car stereo
How hard is it to install a car stereo by myself?
Most basic installs are doable with common tools and a wiring harness adapter. Complex vehicles with integrated electronics may need professional help.
Do I need special tools to install a car stereo?
A basic set of screwdrivers, wire strippers, crimpers, and a multimeter will cover most installs. Soldering gear helps make more reliable connections.
Can I keep my steering wheel audio controls after installation?
Yes, with the right interface module and wiring, steering controls can be retained. Follow the module instructions for proper setup.
What should I do if the new stereo does not power on?
Check the constant and switched 12V wires with a multimeter. Confirm the ground is secure and the fuse in the harness is intact.
Is it necessary to program the new stereo after installation?
Yes. Pair phones, set clock and radio presets, and adjust audio settings for best sound. Some units require initial software updates for optimal performance.
Conclusion
You now have a clear roadmap for how to install car stereo. Gather the right parts, follow safe wiring practices, and test before final mounting. Start small, take your time, and learn from each step — a careful install saves headaches later. If you feel unsure at any point, consult a professional installer or ask questions below. Share your experience, subscribe for more guides, or leave a comment with your car model and stereo you want to install.


