Connect the head unit, run power and ground, wire the amp with RCA and speaker outputs.
I have installed dozens of systems and will guide you through how to install car stereo with amplifier step by step. This guide blends hands-on tips, clear wiring logic, and safety rules so you can get clean power, tight bass, and zero noise. Read on for full wiring diagrams, tool lists, my mistakes to avoid, and easy troubleshooting for real-world installs.
Tools and materials you need before you start
Gathering the right tools saves time and prevents damage. You will need basic hand tools and a small parts kit. Always check the amplifier and head unit manuals for wire gauges and fuse recommendations.
- 12V wire kit with fused power lead, usually 8–16 gauge depending on amp size.
- Ground wire of the same gauge as power wire.
- RCA cables for preamp outputs from the head unit to the amplifier.
- Speaker wire for outputs to speakers or subwoofers.
- Line output converter if your head unit lacks RCA outputs.
- Fuse holder and appropriate fuse at the battery end.
- Wire crimpers, wire strippers, soldering iron or quality crimp connectors.
- Panel removal tools and basic socket set.
- Multimeter to verify voltage and continuity.

Preparing your car and planning the layout
A clear plan prevents backtracking. Decide where the amp will sit and how to run wires. Good placement keeps wiring short and cools the amp naturally.
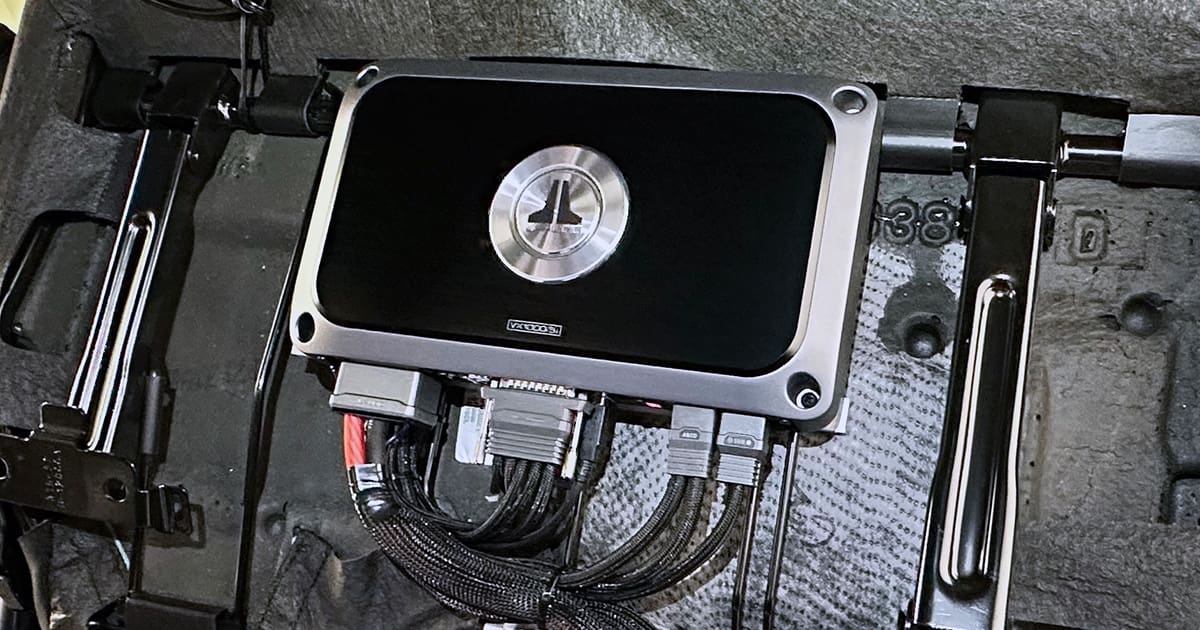
- Choose an amp location. Common spots are under a seat, in the trunk, or behind a side panel.
- Plan the power wire route from the battery through the firewall to the amp.
- Plan the RCA and remote turn-on cable route from the head unit to the amp.
- Decide which speakers or subwoofers each amp channel will power.
- Remove trim panels carefully to avoid broken clips.

Step-by-step: how to install car stereo with amplifier
Follow these steps in order. Work patiently and test as you go. I recommend leaving small head unit screws loose until final testing.
- Disconnect the negative battery terminal to avoid shorts.
- Run the fused power wire from the battery to the amp location. Keep the fuse within 12 inches of the battery.
- Ground the amplifier to bare metal. Use a clean, paint-free area and a short ground wire.
- Run RCA cables and the remote turn-on wire from the head unit to the amplifier. Route RCAs away from power cables to avoid noise.
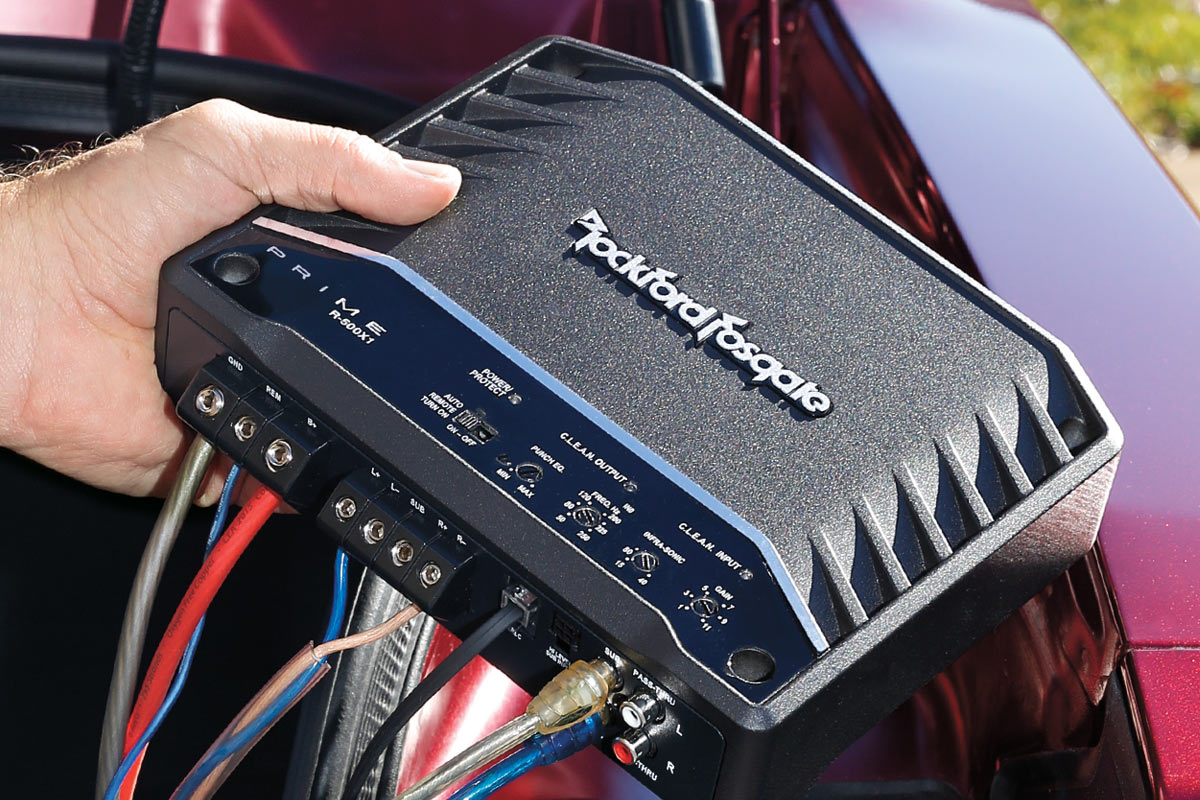
- Install the head unit. Connect speaker wires or RCA outputs per the manual. Ensure the remote turn-on lead is connected to the head unit’s remote output.
- Connect speaker outputs from the amplifier to speakers or a subwoofer. Observe polarity (+/-) to avoid phase issues.
- Reconnect the battery and test power to the head unit and then the amplifier. Verify the amp turns on when the head unit powers up.
- Adjust gains and crossover settings on the amp conservatively. Play music and fine-tune.

Wiring details and common wiring diagrams
Understanding wiring basics prevents damage. Visualize signal and power paths. Keep cables organized and secure.
- Power path: Battery → inline fuse → power wire → amp.
- Ground path: Amp chassis → short ground wire → clean chassis ground.
- Signal path: Head unit preamp RCA outputs → RCA cables → amp inputs.
- Remote turn-on: Head unit remote lead → amp remote terminal. This tells the amp to switch on with the radio.
My tip: label both ends of each cable. I once swapped rear and front RCAs and lost an hour tracing sound. Labels save time and headaches.

Setting gain, crossovers, and tuning
Proper tuning protects speakers and improves clarity. Start low and raise levels carefully.
- Set amp gain low before testing music.
- Play a familiar track at moderate volume and increase gain until distortion appears. Back off slightly.
- Use high-pass filters for full-range speakers and low-pass for subs. Set crossover slopes per speaker specs.
- Use a sound pressure meter or phone app for rough balancing but trust your ears.
Troubleshooting common issues
Noise, no power, or blown fuses are common problems. Check basics first and work systematically.
- If amp won’t turn on, confirm the remote turn-on and that the inline fuse is intact.
- If you hear a whining noise, relocate RCA cables and ensure they are not parallel to power wires.
- If speakers pop or sound distorted, check speaker wiring polarity and amplifier gain.
- If fuses blow, verify wire gauge and short circuits to chassis or speaker leads.

Safety tips and best practices
Safety protects you and your car. Follow simple rules to avoid fires and damage.
- Always use a fuse at the battery end of the power cable sized to the amp’s draw.
- Disconnect the negative battery terminal before wiring.
- Use wire gauge that matches the amp’s demand. Undersized wire overheats.
- Secure wires so they don’t chafe or pinch under panels.
- Allow ventilation for the amp and avoid mounting it directly to subwoofer boxes that trap heat.

My experience, lessons learned, and common mistakes
I’ve installed systems in sedans, trucks, and older cars. The same pitfalls appear often. Here are things I wish I knew at the start.
- Mistake: running power and RCA cables together. Lesson: separate them to avoid noise.
- Mistake: using a long thin ground. Lesson: keep ground short and to bare metal.
- Tip: test before final assembly. I learned this after reinstalling panels twice when a speaker was silent.
- Tip: always recheck polarity; a single reversed speaker can thin the whole soundstage.

Cost, time, and when to call a pro
A DIY install can save money but has limits. Know when to seek help.
- Cost factors include amp power, wire quality, and labor time. A basic install can take 2–4 hours for a single amp.
- If the car has factory amplifiers, complex CANbus systems, or integrated infotainment, professional installers handle the special wiring and interfaces.
- If you are uncomfortable cutting factory harnesses or soldering, find a certified installer to avoid costly mistakes.
People also ask
Q: How long does it take to install a car stereo with amplifier?
A: A basic install usually takes 2–4 hours for an experienced DIYer. Complex systems or custom enclosures can take a full day or more.
Q: Do I need special wire for the amplifier?
A: Use wire sized for the amp’s current draw, typically 8–16 gauge. Use an inline fuse at the battery to protect the circuit.
Q: Can I use speaker-level inputs instead of RCAs?
A: Yes, use a line output converter if your head unit lacks preamp outputs. That converts speaker signals into RCA-level inputs for the amp.
Q: Will installing an amp drain my battery?
A: An amp draws power only when the head unit is on or when the remote lead is energized. Proper wiring usually prevents battery drain.
Q: How do I avoid amp noise or ground loop hum?
A: Run RCA cables away from power wires, use a good ground, and if needed add a ground loop isolator to the RCA path.
Frequently Asked Questions of how to install car stereo with amplifier
What gauge wire should I use for my amplifier?
Use the gauge recommended by the amplifier manual. Heavier amps usually need 8 or 4 gauge, while small amps can use 14–16 gauge.
Where should I mount the amplifier for best cooling?
Mount the amp where air flows and it won’t be crushed. Under a seat or on a trunk sidewall often works well.
How do I connect the amp to factory speakers?
Use speaker-level inputs, a line output converter, or tap speaker wires with proper connectors. Avoid cutting factory harnesses unless you have a wiring adapter.
How do I set the amp gain correctly?
Start with gain low, play a clean test tone or music at moderate volume, increase until slight distortion, then back off slightly. Trust your ears.
Can I install multiple amplifiers in one car?
Yes, you can chain remote turn-on leads and use RCA splitters or a dedicated signal processor. Ensure your electrical system can handle the total current draw.
Conclusion
Installing an amp and car stereo is a rewarding DIY project when you plan, use the right parts, and test carefully. Follow safe wiring practices, set gains conservatively, and keep cables tidy for the best sound. Try a simple single-amp install first, and build up from there as you gain confidence.
Take action: gather your parts, map your wiring, and give the steps here a try. If you run into trouble, comment below or consult a pro for complex vehicle electronics.


