Connecting a car battery charger is simple when you know what to do. Follow safe steps, match the clamp polarities, and set the charger to the right mode and amperage for your battery. Connecting the positive clamp to the battery’s positive terminal and the negative clamp to a clean metal ground on the car (not the negative terminal) gives the safest, most reliable charge.
An experienced mechanic like Ethan Caldwell stresses checking the charger type and your battery’s state before you connect it, and that paying attention while the battery charges prevents damage. For basic background on battery types and charging principles, see automotive battery, and for safe handling tips consult a trusted automotive safety resource such as NHTSA.
Key Takeways
- Use correct clamp polarity and a chassis ground for safety.
- Match charger settings to the battery type and condition.
- Monitor charging and disconnect safely when complete.
Understanding Car Battery Chargers
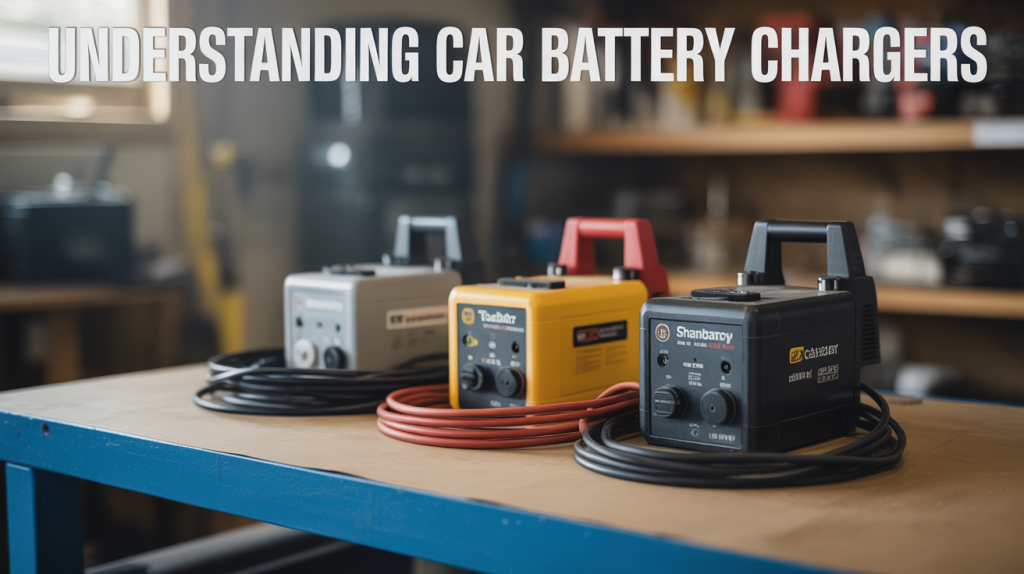
Car battery chargers come in different styles, offer features that change charging speed and safety, and require proper handling to avoid damage. The next parts explain common charger types, which features matter most, and the main safety steps to follow.
Types of Car Battery Chargers
There are three main charger types: trickle, standard/automatic, and smart (multi-stage).
- Trickle chargers supply a very low current (usually 0.5–2 A).
They keep a battery topped up over days or weeks and are best for long-term storage.
They are not suitable for reviving deeply discharged batteries quickly. - Standard or manual chargers deliver higher current (2–10 A).
They charge faster but need watching to avoid overcharging.
Users must set voltage and monitor progress. - Smart chargers use multi-stage charging and electronics to adjust current and voltage automatically.
They detect battery type (flooded, AGM, gel) and state of charge, then switch from bulk to absorb to float stages.
Smart units reduce risk of overcharging and often include desulfation modes for weak batteries.
Some chargers include jump-start or boost modes for severely depleted batteries.
Choose a charger type based on battery condition, how fast charging is needed, and how much monitoring the user wants to do.
Key Features to Consider
Select charger features that match the battery and user’s needs.
- Voltage and amperage: Most car batteries use 12 V.
Match charger voltage and pick amperage by how fast you want to charge—higher amps = faster charge, but more heat. - Battery type settings: Look for explicit settings for lead-acid, AGM, gel, or lithium batteries.
Using the wrong setting can damage the battery. - Multi-stage charging: A charger with bulk, absorb, and float stages protects battery life.
Automatic stage control reduces user error. - Safety and protection: Important protections include reverse polarity, short-circuit, overheat, and spark suppression.
These reduce the chance of accidents and battery damage. - Extras: LCD or LED indicators, timers, and maintenance modes (float/maintenance) help monitor status.
Portability, cable length, and clamp quality affect ease of use.
Safety Considerations
Safety must guide every step when charging a car battery.
Always work in a well-ventilated area.
Batteries can emit hydrogen gas while charging, which is flammable.
Wear eye protection and gloves.
Keep sparks, cigarettes, and open flames away from the battery.
Connect clamps in the correct order: positive clamp to positive terminal first, then negative clamp to vehicle ground or negative terminal last, unless the charger instructions say otherwise.
This lowers spark risk.
Check battery condition before charging.
Do not charge a battery with visible cracks, heavy corrosion, or severe swelling.
Follow charger instructions for settings and cable connections.
Use a charger with reverse-polarity protection and turn the charger off before disconnecting clamps if the manual requires it.
Preparing to Charge Your Car Battery
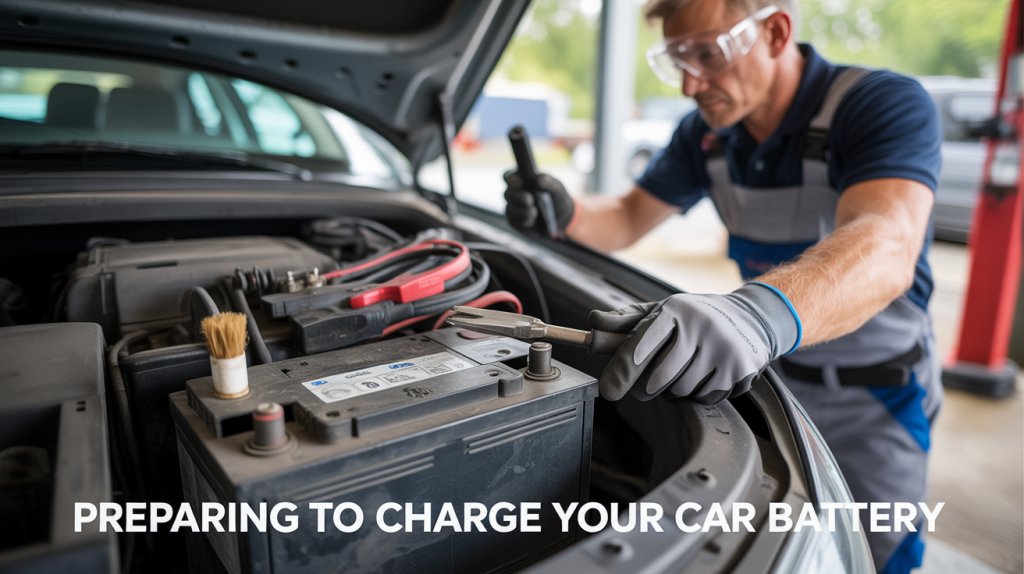
Gather tools, pick a dry, well-ventilated spot, and inspect both battery and charger for damage or corrosion before you start. Safety gear, correct charger settings, and clean terminals make charging straightforward and reduce risk.
Gathering Necessary Tools
They should collect a battery charger rated for the battery type (lead-acid, AGM, or gel) and the correct voltage (usually 12V). A charger with adjustable amp settings is best: low amps (2–10A) for slow, safe charging; higher amps only for quick starts and with caution.
Wear safety gear: eye protection and nitrile or leather gloves. Bring a wrench or socket to loosen terminals, a terminal brush to clean corrosion, and a rag to wipe acid or dirt. Keep a baking soda solution or an approved battery cleaner nearby for neutralizing acid crust. Place a wrench away from the battery top to avoid accidental shorts.
Include a multimeter to check resting voltage before and after charging. If the battery has removable caps, have distilled water on hand for topping off cells, but only if the manufacturer allows it. Keep a fire extinguisher rated for electrical fires within reach.
Choosing an Appropriate Charging Location
They should work outside or in a garage with the door open to avoid hydrogen gas buildup. Avoid enclosed spaces where gas can collect. Keep the charger and battery on a flat, stable surface at least 3 feet from any open flame or sparks.
Ensure the area is dry and clean. Moisture can cause shorts; spilled acid can damage concrete and tools. If charging on a workbench, place the battery on a plastic tray or board to protect surfaces.
Position the charger where its cables reach the battery without stretching. Keep cords away from moving car parts and hot exhaust components. Maintain clear space around the battery so the clamps and terminals stay visible during the entire process.
Inspecting the Battery and Charger
They should first check the battery for cracks, bulging, leaks, or heavy corrosion. If the case is damaged or acid is leaking, do not charge; replace the battery or seek professional help. Check the date code or manufacture sticker to estimate battery age; very old batteries often fail to accept charge.
Inspect terminals and cable ends. Clean light corrosion with a brush and baking soda solution, then rinse and dry. Tighten loose terminal clamps. Test the battery’s resting voltage with a multimeter: ~12.6V indicates full, below ~12.0V indicates a deep discharge.
Examine the charger for frayed wires, broken clamps, and a working power cord. Verify the charger’s polarity markings and settings match the battery type and voltage. If the charger has an automatic mode, confirm it supports the battery chemistry before connecting.
Connecting a Car Battery Charger Safely
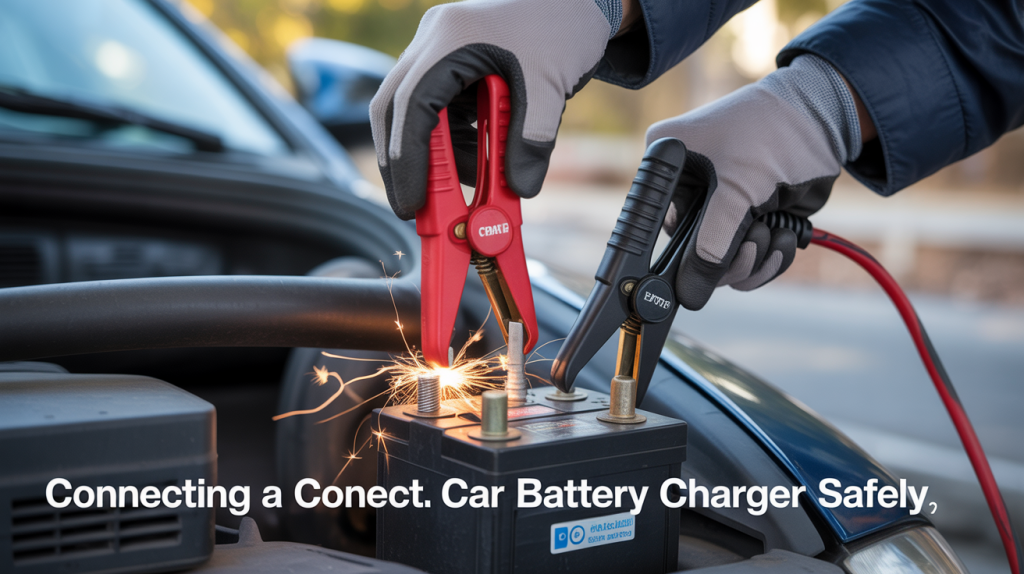
This section explains the key safety checks, how to find the battery terminals, and the exact clamp order to avoid sparks or damage. It lists tools to keep nearby and steps to follow so the charger connects correctly.
Ensuring the Vehicle is Off
The vehicle must be off, keys removed, and all lights and accessories switched off before connecting the charger. This prevents voltage spikes and reduces the chance of the alternator or onboard electronics being damaged.
Wear safety goggles and gloves. Park on level ground and set the parking brake. If the battery is inside a trunk or under a seat, open the access panel and clear any loose objects from the area.
If the battery has corrosion, clean terminals with a wire brush and baking soda solution, then dry them. If the battery is cracked, swollen, or leaking, do not charge it; call a professional or take it to a shop.
Keep metal tools and jewelry away from the battery. Place the charger on a stable surface and make sure its cables won’t get pinched by doors or the hood.
Identifying Positive and Negative Terminals
The positive terminal usually has a red cover, a plus sign (+), or a larger cable. The negative terminal often has a black cover, a minus sign (−), or a smaller cable. Confirm both symbols visually before touching clamps.
If the battery uses ring terminals, note which cable goes to the engine block or chassis — that is the negative ground. If corrosion hides markings, follow the cable to its connection point to identify polarity.
When working on newer cars with multiple battery packs or battery management systems, consult the owner’s manual. Some vehicles place a jump/charge point under the hood for safe access; use that point rather than the battery posts when directed.
For general battery and electrical safety background, a trusted source like the Wikipedia article on automotive batteries can add context: automotive battery.
Attaching Charger Cables in the Correct Order
Follow this clamp order: attach the positive (+) clamp to the positive battery terminal first. Then attach the negative (−) clamp to a clean metal ground on the vehicle, away from the battery and fuel system. This reduces the risk of sparks near hydrogen gas.
If using alligator clips, ensure they grip bare metal and are tight. If using ring terminals, connect and tighten the hardware securely. Avoid letting clamps touch each other while any are attached to the battery.
After clamps are secure, set the charger to the correct voltage and charge rate for the battery type (e.g., 12V lead-acid). Plug in the charger and switch it on following the manufacturer’s instructions.
When finished, switch off and unplug the charger before removing clamps. Remove the negative clamp first, then the positive. If readers want detailed charger types and settings, the Battery Council or manufacturer sites provide specific guidance. Car battery reference
Setting Charging Parameters

Choose the right voltage and amperage for the battery type and condition. Use the charger manual and the battery label to pick settings that match the battery chemistry and state of charge.
Selecting Correct Voltage
Most car batteries are 12-volt lead-acid types. The charger should be set to 12V for a typical car battery. For smaller 6V batteries or some specialty systems, set the charger to 6V if the battery clearly labels that value.
AGM, GEL, and flooded lead-acid batteries all use 12V systems but often need different charge profiles. If the charger has a battery-type selector, choose the correct chemistry (e.g., AGM or Lead-Acid). If unsure, check the battery sticker or the vehicle manual.
Never set a 12V battery to 24V. Doing so can damage the battery and vehicle electronics. When in doubt, use a charger with automatic voltage detection.
Adjusting Amperage Settings
Amperage controls how fast the charger delivers current. Use a lower amp setting for maintenance or deeply discharged batteries to avoid overheating. Typical settings:
- 2–10 A for regular charging and maintenance
- 10–50 A for fast charging on large or commercial batteries (only if battery specs allow)
A safe rule: charge at about 10% of the battery’s amp-hour (Ah) rating for standard charging. For example, a 60 Ah battery pairs well with a 6 A charger for slow, safe charging.
If the charger offers multiple modes (bulk, absorption, float), follow the mode sequence: bulk for most current, absorption to finish charging, then float to maintain charge. Monitor battery temperature and voltage; stop or lower amps if the battery becomes hot.
Monitoring the Charging Process
Monitor the charger display and the battery itself. Watch the amp reading, voltage, and any status lights to confirm charging is proceeding and to spot problems early.
Tracking Charging Progress
They should read the charger’s display or amp meter often. A high initial amp draw that falls steadily means the battery is accepting charge. If the amp reading stays high or jumps up, stop and check connections.
They must watch voltage too. A healthy 12V lead-acid battery will rise from about 11–12 V toward 13.8–14.8 V on bulk/absorb stages. If voltage caps out below 12.5 V and current drops to near zero, the battery may be sulfated.
Use a checklist: confirm clamps are tight, monitor ambient temperature, and note charging stage (bulk, absorb, float). Smart chargers show stage with icons or words; manual chargers require watching amps and volts. Record times and readings if the battery needs repeated charging.
Identifying Warning Signs
They must look for heat, swelling, or a rotten-egg smell. Excessive heat (battery too hot to touch) or case deformation means stop charging immediately and move the battery to a well-ventilated spot.
Sparking at the clamps, persistent charging current with no voltage rise, or charger error lights indicate faults. If the charger shows reversed polarity or a fault code, disconnect power, check connections, and consult the charger manual before retrying.
Small venting is normal for older flooded cells during fast charge, but continuous gas or leaking acid is dangerous. Wear gloves and eye protection when inspecting, and never lean over the battery while it charges.
Understanding Charging Times
They should estimate time from battery capacity and charger rate. Divide amp-hours (Ah) by charger amps to get hours; then add 20–30% for inefficiency. For example, a 60 Ah battery on a 6 A charger needs about 12–16 hours to go from deep discharge to full.
Different charger modes change timing. Bulk stage delivers most current quickly; absorb stage holds voltage with decreasing current and can take hours. Float mode maintains a full battery with minimal current and can run indefinitely without overcharging when the charger is designed for float.
Cold temperatures slow charging and reduce capacity. At below 32°F (0°C), charging takes longer and may need a charger with a cold-charge or temperature-compensation feature.
Disconnecting and Storing the Charger
Disconnect power first, then remove clamps in the correct order. Dry the clamps and cable, coil the cord neatly, and store the charger where it stays clean and dry.
Safely Removing Charger Cables
They must first turn the charger off and unplug it from the wall outlet. This removes live power and cuts the risk of sparks when cables come off.
Next, remove the negative (black) clamp from the battery terminal. If the battery was in the car, detach the negative clamp from a clean metal part of the engine block or chassis instead of the battery post last. Then remove the positive (red) clamp. Removing negative first lowers the chance of shorting the battery to the car frame.
Inspect clamps and battery posts for corrosion or melted insulation. If clamps are dirty, scrub with a wire brush and baking soda solution while wearing gloves and eye protection. Dry the clamps completely before storing.
Proper Storage of the Charger
Wipe the charger housing, cables, and clamps with a dry cloth. If oil or battery acid is present, neutralize with a mild baking soda solution, rinse, and dry fully to prevent corrosion.
Coil the cord loosely—avoid tight loops that stress the wires. Use the charger’s built-in hook or a soft Velcro strap to keep the cable tidy. Store the unit upright on a shelf or in a cabinet off the floor to protect it from moisture and accidental damage.
Keep the charger in a cool, dry place away from direct sunlight, heat sources, and flammable materials. Label the shelf or bin so others know it contains battery equipment.
Troubleshooting Common Issues
Check power sources, cable condition, and battery state first. Look for loose clamps, blown fuses, and error lights before trying repairs or replacements.
Charger Not Powering On
They should first confirm the charger is plugged into a working outlet. Test the outlet with a lamp or multimeter. Reset any tripped breakers and replace blown inline fuses in the charger cord if present.
Inspect the power cord and plug for cuts, frays, or bent prongs. Damaged wiring can stop the unit from powering up and is a shock hazard. Do not use the charger if insulation is split; replace the cord or the charger.
If the charger has an internal fuse or reset button, follow the manual to replace or reset it. Some chargers have an internal thermal fuse that requires a technician to service. If the unit still won’t turn on after these checks, the internal electronics may have failed and the charger should be serviced or replaced.
Battery Not Charging
Verify clamps are on the correct terminals: red to positive (+) and black to negative (−). Poor clamp contact or heavy corrosion on terminals can block current flow. Clean terminals with a wire brush and reattach clamps firmly.
Measure battery voltage with a multimeter before and during charging. A healthy 12V battery reads about 12.6V at rest; below 11.5V may be deeply discharged and require a slow or specialized charger. If voltage doesn’t rise after connecting a working charger, the battery may be sulfated or damaged and may need replacement.
Check charger settings and mode. Many chargers have “trickle,” “fast,” and “AGM/gel” modes. Using the wrong mode can show slow charging or no charge. Also confirm the charger’s output rating matches the battery type and size.
Handling Error Codes
Read the charger display and note any error codes exactly as shown. Consult the charger manual or manufacturer website for the exact meaning of each code before acting. Different brands use different codes for common faults.
Common codes indicate reverse polarity, over-temperature, short circuit, or battery detection failure. For reverse polarity, disconnect immediately, correct clamp placement, and try again. For over-temperature, allow the charger and battery to cool for at least 30 minutes before retrying.
If an error persists after correcting simple issues, document the code, steps taken, and battery condition. Contact manufacturer support or a qualified technician with that information. Do not attempt internal repairs unless trained, as that risks injury and voids warranties.
Maintaining Your Car Battery and Charger
They should inspect the battery and charger regularly. Look for corrosion, loose clamps, frayed wires, and cracks in the case. Clean terminals with a brush and baking soda solution when corrosion appears.
They should keep the battery charged to prevent sulfation. Use a smart charger or maintainer for long-term storage. A slow, steady charge is safer and helps battery life.
They should store the charger in a dry, cool place. Protect it from moisture and extreme heat. Coil the cords neatly to avoid kinks and damage.
They should check electrolyte levels on serviceable batteries monthly. Add distilled water only when levels are low and the battery is not charging. Wear gloves and eye protection during any maintenance.
They should test the battery and charging system periodically. A multimeter or load tester shows state of charge and health. Replace a battery that fails repeated tests or shows physical damage.
Maintenance checklist:
- Clean terminals and clamps
- Tighten connections
- Inspect cables for wear
- Use a smart charger for storage
- Test battery voltage every 3–6 months
They should follow manufacturer instructions for both battery and charger. Using the wrong charger or settings can damage the battery. Keep safety gear handy and dispose of old batteries at a proper recycling center.
FAQS
What if the car won’t start after charging?
They should first check the charger settings and cable connections. If everything looks correct, the battery may be too damaged to hold a charge or the starter/alternator could be the issue.
Should the charger clamps touch each other?
No. Clamps touching can cause sparks or short circuits. Keep clamps apart until they are securely attached to the correct battery posts.
Which clamp goes on first and last?
Attach the positive (red) clamp to the positive battery terminal first. Attach the negative (black) clamp to a grounded metal point away from the battery last. Reverse that order when removing the charger.
Can someone charge a battery while it’s still in the car?
Yes, many chargers allow in-vehicle charging. They should follow the vehicle and charger manuals, and ensure good ventilation around the battery.
How long should charging take?
Charging time depends on battery size, charge level, and charger type. A slow charger may take several hours; a fast charger can finish in under an hour. They should avoid overcharging.
Is it safe to use a smart charger?
Smart chargers are safe and can prevent overcharging by automatically adjusting current. Users should pick a charger that matches the battery type and follow the manufacturer’s instructions.
What safety gear is recommended?
They should wear eye protection and gloves and work in a well-ventilated area. Removing jewelry and keeping sparks or flames away reduces risk.
Conclusion
They learned the basic steps to connect a car battery charger safely and correctly. Following the right order for connections, using the correct clamps, and observing safety gear reduce risk.
They should always read the vehicle and charger manuals first. Different chargers and cars can need different steps or settings.
If the battery is damaged, leaking, or swollen, they must not attempt to charge it. They should get a replacement or professional help to avoid injury or damage.
They should work in a well-ventilated area and keep sparks, flames, and cigarettes away. Eye protection and gloves add a useful layer of safety.
Simple maintenance helps the battery last longer. Cleaning terminals, checking for corrosion, and using the right charger settings make charging more effective.
If charging problems persist, they should test the battery and charging system or consult a mechanic. Troubleshooting steps help, but a professional can prevent misdiagnosis or further damage.