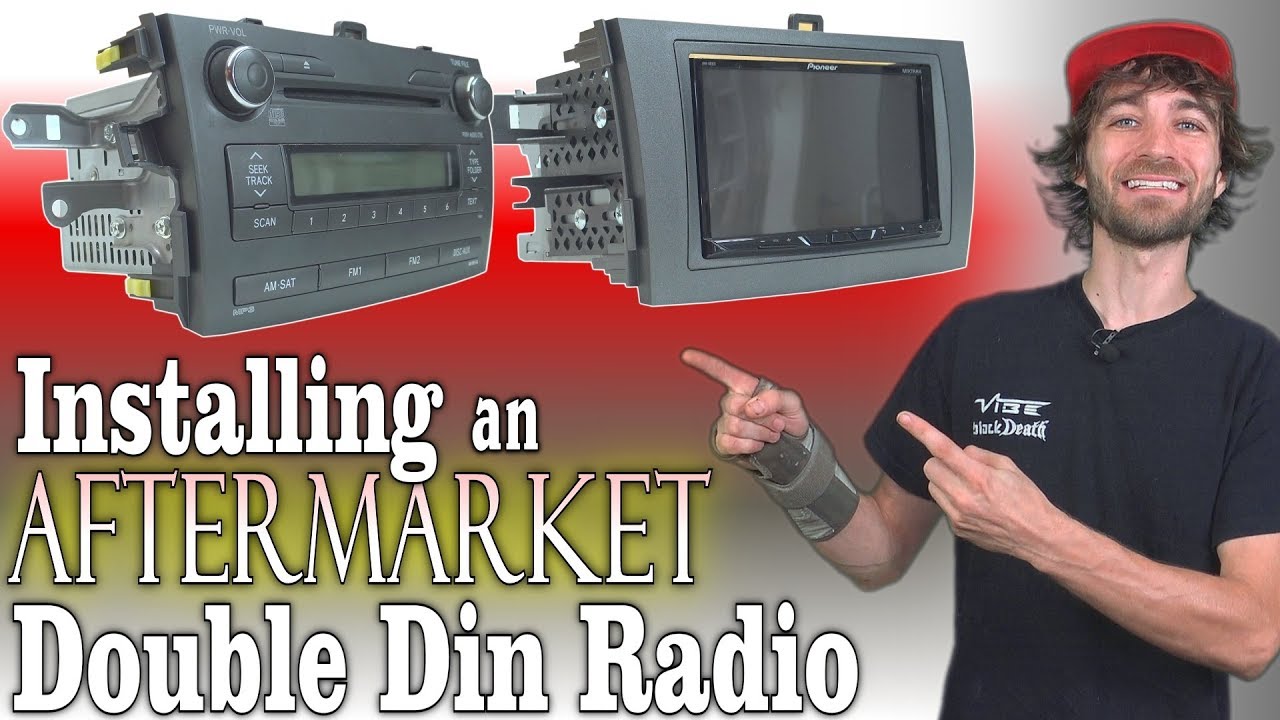
Install a double DIN car stereo by wiring the harness, fitting the dash kit, mounting the unit, and testing connections.
I’ve installed dozens of car stereos over the years. In this guide I’ll walk you step-by-step through how to install double din car stereo with clear, practical advice. I explain tools, parts, wiring tips, compatibility checks, and common fixes. Read on to gain confidence and avoid common mistakes when you install a double DIN car stereo yourself.

Why upgrade to a double DIN stereo?
A double DIN stereo gives you a larger screen, modern features, and better sound. Most newer units include Apple CarPlay, Android Auto, Bluetooth, and backup camera support. Upgrading can add value, safety, and convenience to your car. I’ll show how to install double din car stereo in a way that keeps your wiring tidy and reliable.

Tools and parts you’ll need
Gather parts and tools before you start. Having everything ready saves time and prevents frustration.
- Double DIN head unit
- Wiring harness adapter matched to your car
- Dash kit or mounting kit for your vehicle
- Antenna adapter if needed
- Steering wheel control adapter if you want to keep controls
- Basic tools: screwdrivers, socket set, panel trim tools
- Wire strippers, crimpers, butt connectors or solder and heat shrink
- Electrical tape, zip ties, multimeter
Check the stereo’s manual for parts specific to the model. Using a vehicle-specific dash kit and harness adapter makes how to install double din car stereo much simpler and safer.

Prep and safety checks before you begin
Prep protects you and your car. A few checks prevent damage.
- Disconnect the negative battery terminal to avoid shorts.
- Read the stereo and dash kit instructions completely.
- Record or photograph factory wiring and connectors for reference.
- Remove trim pieces carefully with plastic trim tools to avoid damage.
- Keep screws and small parts in a labeled container.
Doing prep work helps the rest of the process flow smoothly and makes how to install double din car stereo less stressful.

Step-by-step: how to install double din car stereo
Follow these steps in order. Keep each step short and check as you go.
- Remove the factory unit
- Remove trim panels around the dash.
- Unscrew and remove the factory radio.
- Carefully pull the unit out to access the connectors.
- Match and connect the wiring harness
- Use a vehicle-specific wiring harness adapter. It maps your factory wires to the new head unit.
- Match colors and functions: power, ground, speaker wires, ignition/accessory, illumination, and antenna.
- Crimp or solder connections. Use heat shrink for a secure seal.
- Handle special connections
- Connect the antenna adapter if the plug is different.
- Connect backup camera, steering wheel control adapter, and USB or mic leads in the dash if required.
- If your car uses a data bus (CAN), install any required interface modules.
- Test before final mounting
- Reconnect the battery negative terminal temporarily.
- Turn on the new stereo and test power, speakers, Bluetooth, microphone, and cameras.
- Verify steering wheel controls and any vehicle messages.
- Mount the stereo
- Attach the stereo to the dash kit or mounting sleeve per the kit instructions.
- Slide the head unit into the dash and secure it with screws.
- Replace trim panels carefully.
- Final checks and tidy-up
- Secure wiring behind the dash with zip ties.
- Reconnect and tighten the battery terminal.
- Test the system again while the car is stationary.
These steps explain how to install double din car stereo in clear stages. Take your time on wiring and testing to avoid rework.
Wiring and compatibility details
Understanding wiring prevents common errors. Keep notes and use a multimeter when unsure.
- Color codes: many harnesses follow common colors (yellow = constant 12V, red = accessory, black = ground, blue = amp turn-on). Confirm before you connect.
- Speaker wires are typically paired as positive and negative for each speaker.
- CAN bus and factory amplifiers: Some cars need a CAN or amplifier integration module to retain features or power the factory amp.
- Steering wheel controls: Use an adapter that programs to your head unit to keep these working.
- Backup camera and parking brake: Some units require a parking-brake signal to enable video; use the correct wiring or a safe workaround if local laws and safety require.
When you learn how to install double din car stereo wiring correctly, you keep features and avoid electrical issues.

Troubleshooting common issues
Quick checks fix most problems. Try these simple solutions first.
-
No power
- Check battery connection and fuse in the stereo harness.
- Verify constant 12V and accessory 12V with a multimeter.
-
- Confirm speaker wires are connected and not shorted to ground.
- Check speaker balance and source selection on the head unit.
-
Bluetooth or phone problems
- Clear pairing list and re-pair devices.
- Update firmware on the head unit if available.
-
Steering wheel controls not working
- Reprogram the adapter and verify the adapter is compatible with your unit.
-
Fitment issues
- Double-check the dash kit and mounting sleeve. Trim or spacer pieces may be needed.
These tips reflect hands-on experience. If issues persist, a professional installer can diagnose vehicle-specific quirks.

My experience: tips, mistakes to avoid, and best practices
I’ve installed many double DIN units. Here are lessons I learned the hard way.
- Always use a vehicle-specific wiring harness. Trying to wire straight to factory wires often causes trouble.
- Label wires and take photos before you unplug anything. It saves time during reassembly.
- Crimp and heat-shrink connections. Tape alone often fails after heat cycles.
- Test fully before locking the stereo into the dash. Fixes are easier when you can still access wiring.
- Keep firmware updated. New software often fixes connectivity bugs.
These small habits make how to install double din car stereo smoother and more reliable.

When to call a pro
Some cars have complex electronics. Call a professional if:
- Your vehicle uses an integrated factory amplifier or advanced CAN systems.
- Airbag or vehicle diagnostics warnings appear after removing dash components.
- You’re uncomfortable with cutting metal trim or modifying mounting points.
A pro can save time and prevent damage on complex installs. Knowing when to ask for help is part of a smart DIY approach to how to install double din car stereo.

Frequently Asked Questions of how to install double din car stereo
How long does it take to install a double DIN stereo?
A simple install with a harness and dash kit takes 1 to 2 hours for most cars. Complex installs with adapters or cameras can take 2 to 4 hours.
Do I need to cut wires to install a double DIN stereo?
No. You should use a wiring harness adapter that plugs into the factory connector so you don’t cut the car’s factory wiring.
Can I keep steering wheel controls when I install a double DIN stereo?
Yes. A steering wheel control adapter or interface keeps those buttons working and is usually easy to program.
Will my car lose settings after disconnecting the battery?
Some radios or presets may reset. Take note of radio codes, presets, and settings beforehand. Keep a saved backup if your car supports it.
Is soldering better than crimping for stereo wiring?
Both methods are fine. Soldering with heat shrink is very secure. Quality crimp connectors with heat shrink also provide reliable results.
Conclusion
Installing a double DIN car stereo is a rewarding DIY project when you prepare, use the right parts, and test carefully. Follow the steps here to wire, mount, and troubleshoot your new head unit. Start with the right harness and dash kit. Take photos, label wires, and test before final assembly to avoid common mistakes. If you feel stuck, reach out to a pro for complex vehicle systems. Try the install on a weekend and enjoy a modern, safer ride—then share your results or ask questions below.
