In this guide, you will learn how to use an OBD2 scanner for effective car diagnostics. You will understand the steps for connecting the scanner, interpreting error codes, and troubleshooting common issues. Master your vehicle’s health with this essential tool!
Key Takeaways
- Understanding OBD2: OBD2 stands for On-Board Diagnostics II, a system that monitors vehicle performance and emissions.
- Choosing the Right Scanner: There are various types of OBD2 scanners; selecting the right one depends on your needs and budget.
- Connecting Your Scanner: Properly connecting the scanner to your vehicle’s OBD2 port is crucial for accurate diagnostics.
- Interpreting Codes: Learn how to read and understand the error codes to effectively diagnose issues.
- Resetting Codes: After repairs, you can reset the codes to clear the check engine light.
- Regular Maintenance: Using an OBD2 scanner regularly can help maintain your vehicle’s health.
- Troubleshooting Tips: Know common issues and solutions to make the most of your OBD2 scanner.
Mastering How to Use OBD2 Scanner for Car Diagnostics
If you’re a car owner or a DIY mechanic, knowing how to use an OBD2 scanner is essential for maintaining your vehicle’s health. This guide will walk you through the process of using an OBD2 scanner from start to finish, ensuring you can diagnose and troubleshoot car issues efficiently.
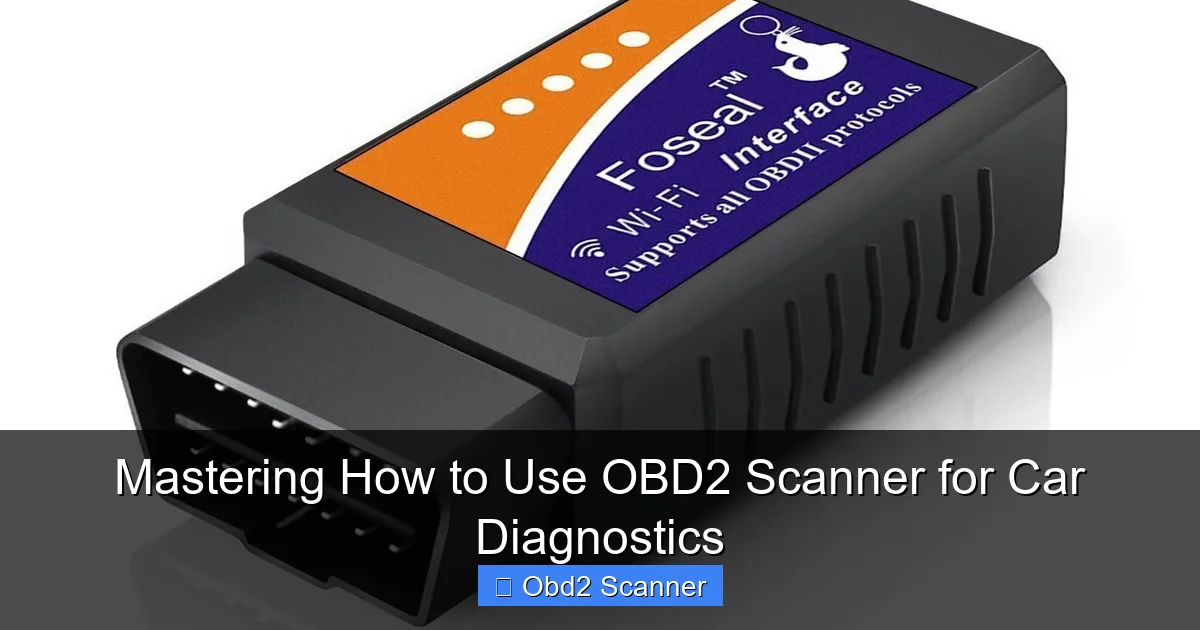
What is an OBD2 Scanner?
OBD2 stands for On-Board Diagnostics II. It’s a standardized system used in vehicles to monitor their performance and emissions. An OBD2 scanner helps you communicate with your vehicle’s computer to retrieve diagnostic trouble codes (DTCs) and other valuable information. By learning how to use this tool, you can save on mechanic costs and gain a better understanding of your car’s health.
Visual guide about Mastering How to Use OBD2 Scanner for Car Diagnostics
Image source: m.media-amazon.com
Choosing the Right OBD2 Scanner
Before diving into how to use an OBD2 scanner, it’s important to choose the right one for your needs. Here are a few factors to consider:
Visual guide about Mastering How to Use OBD2 Scanner for Car Diagnostics
Image source: totalcardiagnostics.com
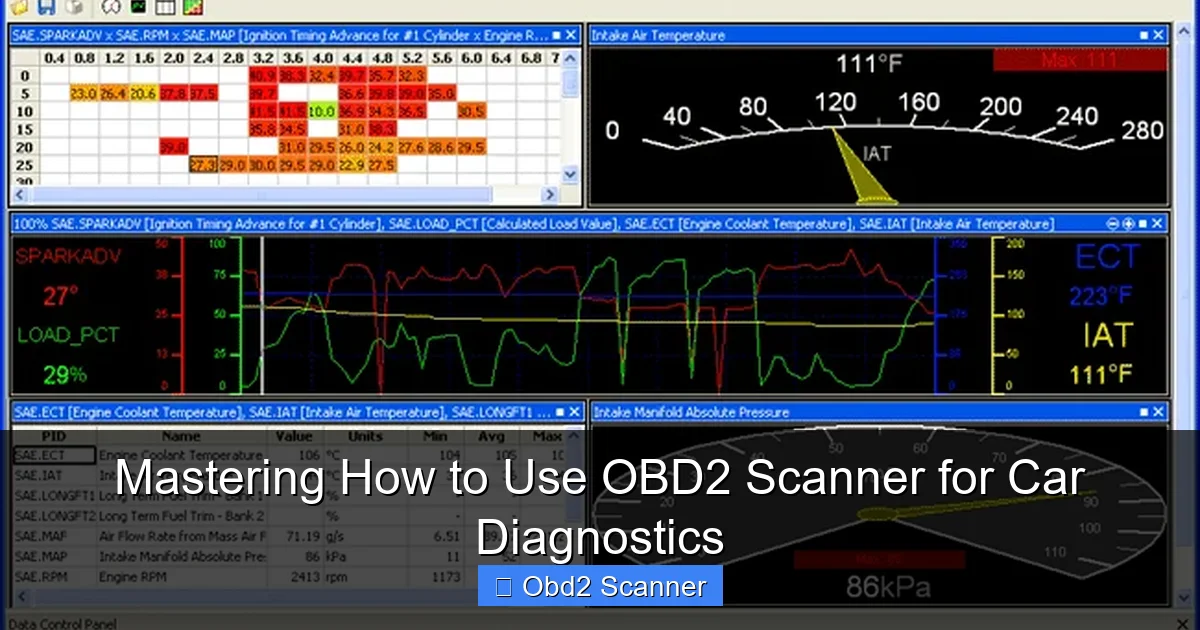
- Types of Scanners: There are basic code readers, advanced scanners with live data capabilities, and professional-grade tools.
- Compatibility: Ensure the scanner is compatible with your vehicle’s make and model.
- Budget: Prices can vary significantly, so choose one that fits your budget while meeting your needs.
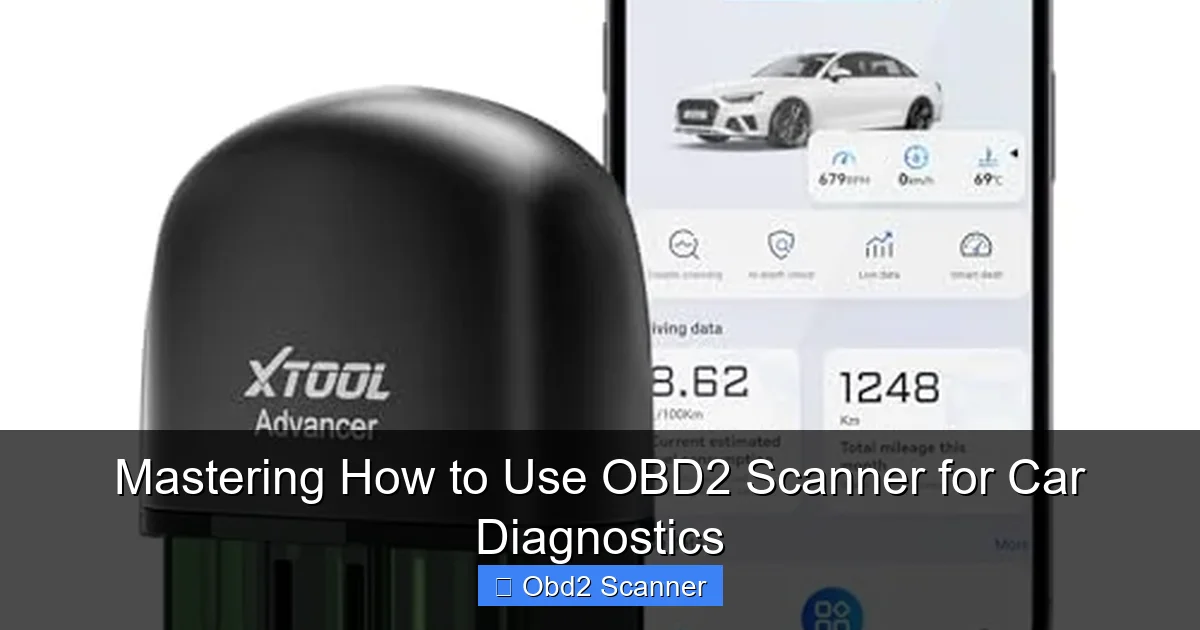
Getting Started with Your OBD2 Scanner
Now that you have your OBD2 scanner, let’s get started with the setup:
Visual guide about Mastering How to Use OBD2 Scanner for Car Diagnostics
Image source: m.media-amazon.com
Step 1: Locate the OBD2 Port
The OBD2 port is typically located under the dashboard on the driver’s side. It may be near the steering column or under a cover. If you can’t find it, refer to your vehicle’s manual.
Step 2: Connect the Scanner
Once you locate the port, plug your OBD2 scanner into it. Ensure that the connection is firm and secure.
Step 3: Turn on Your Vehicle
To power the OBD2 scanner, turn on the ignition. You don’t necessarily need to start the engine; just turning the key to the “on” position is sufficient.
Interpreting Diagnostic Trouble Codes
Once your scanner is connected and powered on, you can begin scanning for codes:
Step 4: Access the Codes
Follow the instructions on your scanner to read the diagnostic trouble codes. Most scanners will have a “Read Codes” or “Scan” button. Press it and wait for the scanner to display the codes.
Step 5: Understand the Codes
Each code corresponds to a specific issue. You can refer to the scanner’s manual or search online to interpret the codes. For example, a code that starts with “P” indicates a powertrain issue, while “B” codes relate to body issues.
Resetting the Check Engine Light
After diagnosing and addressing the issue, you may want to reset the check engine light:
Step 6: Clear the Codes
Use the “Clear Codes” function on your scanner. This will erase the DTCs and turn off the check engine light. However, if the problem persists, the light will come back on.
Practical Tips for Using Your OBD2 Scanner
Here are some practical tips to make the most of your OBD2 scanner:
- Regular Scans: Make it a habit to scan your vehicle regularly to catch issues early.
- Keep a Record: Document the codes and any repairs made for future reference.
- Learn Common Codes: Familiarize yourself with common codes and their meanings to save time.
Troubleshooting Common Issues
If you encounter problems while using your OBD2 scanner, here are some troubleshooting tips:
Common Problem 1: Scanner Won’t Power On
Ensure that the scanner is properly connected to the OBD2 port. Check the vehicle’s ignition position and ensure it is turned on.
Common Problem 2: No Codes Found
If the scanner displays “No Codes Found,” ensure the vehicle is running properly. If the check engine light is on, the issue might be with the vehicle’s computer.
Conclusion
Using an OBD2 scanner is a valuable skill for any car owner or enthusiast. By following this guide, you’ve learned how to connect the scanner, interpret codes, and troubleshoot issues effectively. Regularly using your OBD2 scanner can help maintain your vehicle’s health and save you money on repairs. So, grab your scanner, and start mastering the art of car diagnostics today!
🎥 Related Video: How to Use an OBD2 Scan Tool
📺 EasyAutoFix
OBD2 Scanner: https://amzn.to/4jdzrUc ▶︎ Check Out ALLDATA Manuals: …
