In this guide, you will learn whether your car should be on for OBD2 scanning and discover effective tips for using your OBD2 scanner properly. This comprehensive guide offers a step-by-step approach, practical examples, and troubleshooting advice to ensure accurate vehicle diagnostics.
Key Takeaways
- Point 1: Your car should typically be in the “On” position, but not necessarily running, for accurate OBD2 scanning.
- Point 2: Understanding the difference between “On” and “Running” modes can impact the results you receive from the scanner.
- Point 3: Always consult your vehicle’s manual for specific guidelines related to OBD2 diagnostics.
- Point 4: Keep your vehicle’s battery charged to avoid issues during the scanning process.
- Point 5: Familiarize yourself with common error codes to interpret the scanner’s results effectively.
- Point 6: Regularly update your OBD2 scanner’s software for the best performance.
- Point 7: If you encounter issues, check connections and ensure the scanner is compatible with your vehicle.
Should Car Be On for OBD2 Scanner Effective Tips for You
Welcome to our comprehensive guide on whether your car should be on for OBD2 scanning. If you’re a car owner or a DIY mechanic, understanding how to use your OBD2 scanner effectively is vital for diagnosing issues in your vehicle. In this guide, you will learn the best practices for using an OBD2 scanner, including when to turn your car on, what to expect, and troubleshooting tips to help you navigate through the process smoothly.
Understanding OBD2 Scanners
Before we dive into whether your car should be on for OBD2 scanning, let’s briefly understand what an OBD2 scanner does. An OBD2 (On-Board Diagnostics) scanner is a tool that reads and interprets the data from your vehicle’s computer system. It can help you identify problems with your engine and other vital systems in your car. With this understanding, let’s explore how to use the scanner effectively.
Visual guide about Should Car Be On for OBD2 Scanner Effective Tips for You
Image source: ev-tips.com
Step 1: Prepare Your Vehicle
Check Your Vehicle’s Manual
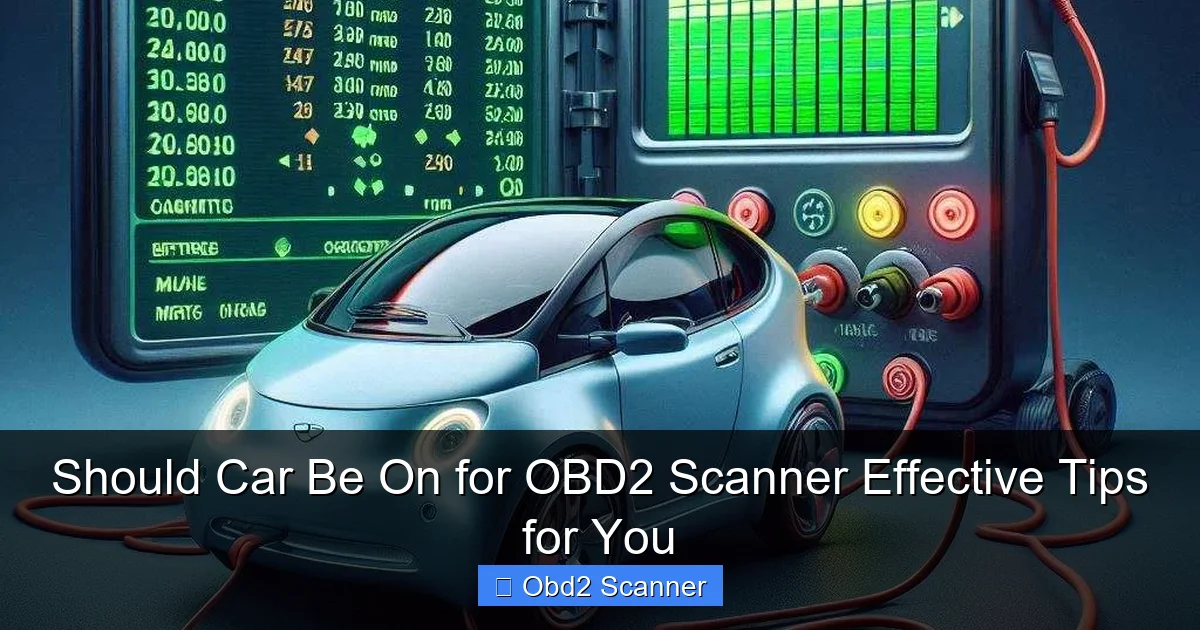
Before using the OBD2 scanner, it’s essential to check your vehicle’s manual for any specific instructions. Different vehicles may have varying requirements for OBD2 diagnostics.
Visual guide about Should Car Be On for OBD2 Scanner Effective Tips for You
Image source: mythinkcar.com
Ensure the Battery is Charged
Make sure your vehicle’s battery is in good condition. A weak battery can lead to inaccurate readings or failure to communicate with the scanner.
Step 2: Connecting the OBD2 Scanner
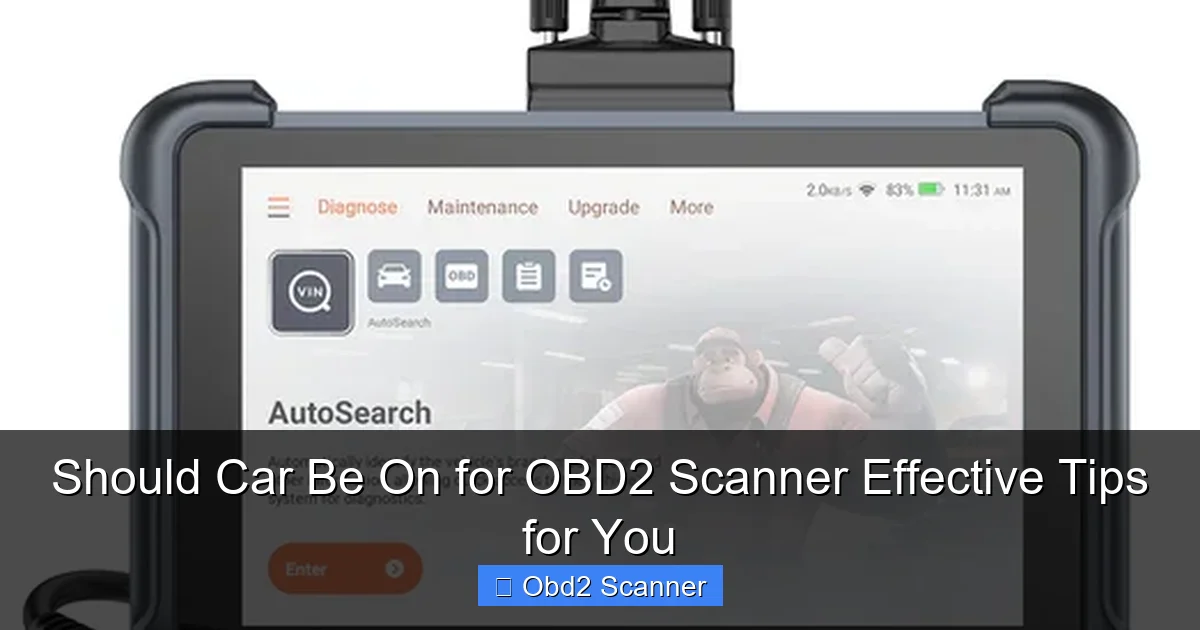
Locate the OBD2 Port
The OBD2 port is usually located beneath the dashboard, near the steering column. Look for a 16-pin connector.
Visual guide about Should Car Be On for OBD2 Scanner Effective Tips for You
Image source: mythinkcar.com
Plug in the Scanner
Once you find the port, plug in your OBD2 scanner. Ensure it’s securely connected to avoid any communication issues.
Step 3: Powering On Your Vehicle
Understanding the ‘On’ and ‘Running’ Modes
Typically, you will want your car in the “On” position, which means the dashboard lights are illuminated, but the engine isn’t necessarily running. This allows the scanner to communicate with the vehicle’s computer without the complications that can arise when the engine is running.
Turn on the Ignition
To power on your vehicle, insert the key into the ignition and turn it to the “On” position. If your vehicle has a start button, press it without pressing the brake pedal to start the ignition while keeping the engine off.
Step 4: Scanning with the OBD2 Scanner
Select the Diagnostic Function
Follow the prompts on your OBD2 scanner to select the diagnostic function you need, such as reading codes or live data.
Read and Interpret Codes
Once you initiate the scan, the scanner will display any error codes. Note these down, as they will help you understand the issues your vehicle may be facing. Take time to research the codes if you’re unfamiliar with their meanings.
Step 5: Troubleshooting Common Issues
Connection Problems
If your scanner isn’t reading any data, ensure that it is properly connected to the OBD2 port. Also, check if the vehicle is in the correct “On” position.
Incompatible Scanner
Not all scanners are compatible with every vehicle make and model. If you encounter issues, verify that your scanner is suitable for your car.
Step 6: Finalizing the Scan
Disconnecting the OBD2 Scanner
After you’ve finished your diagnostics, carefully unplug the OBD2 scanner from the port. Make sure to turn off the ignition before doing so.
Clearing Codes (if necessary)
If you want to clear the codes after taking note of them, you can use the scanner’s function to erase the codes. This can help reset the check engine light, but make sure to address the underlying problem first.
Practical Tips for Using OBD2 Scanners
- Regularly Update the Scanner: Most OBD2 scanners come with software that needs to be updated. Regular updates ensure you have the latest diagnostic capabilities.
- Familiarize with Common Codes: Knowing common OBD2 codes can expedite your troubleshooting process. Resources are available online to help you learn.
- Be Cautious with Repairs: While an OBD2 scanner can guide you on potential issues, consulting a professional mechanic is advisable for complex problems.
Conclusion
In summary, using an OBD2 scanner can be a straightforward process once you understand whether your car should be on and how to interpret the results. Remember, keeping your vehicle’s battery charged and ensuring you have the right scanner for your model will help you achieve accurate results. By following this guide, you will be well-equipped to diagnose and address issues in your vehicle effectively. Happy scanning!
🎥 Related Video: Affordable OBD 2 scanner #foxwell link in bio #fyp #mechanic #autodiagnostico #obdscanner
📺 MeDoMechanic
My daily use tools …
