Backup cameras integrate with car systems by using 12-volt power, a reverse trigger from the backup light circuit or vehicle module, and a video connection to the factory screen, mirror monitor, or aftermarket radio. On newer cars, they can also interact with the BCM, parking sensors, and CAN bus.
Backup camera problems can look simple. Many are not. A black screen, weak image, or no-signal warning often comes from wiring, voltage, or integration issues inside the vehicle. I’m Ethan Caldwell, and I’ve spent years working with automotive electrical systems and testing real install methods. I’ll show you how these cameras tie into the rest of the car and what to check when they don’t work right.
What Is a Backup Camera and Why It Matters
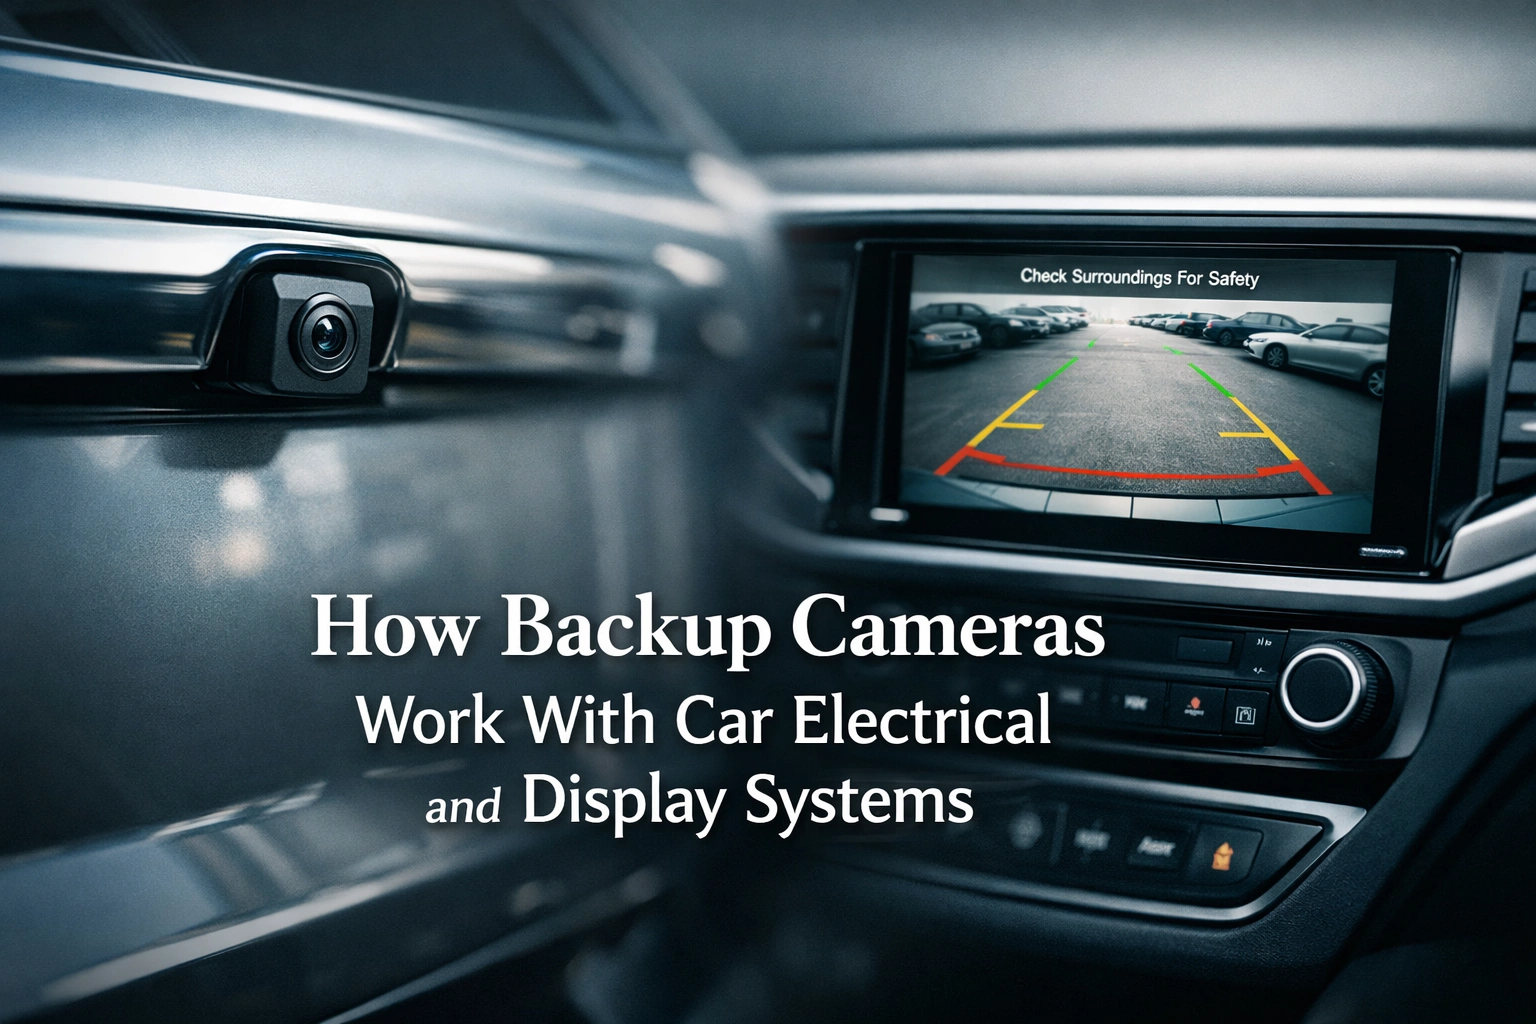
A backup camera is a rear-mounted camera that shows what is behind your vehicle when you shift into reverse. In most cars, the image appears on the factory infotainment screen, a rearview mirror display, or an aftermarket head unit.
For daily driving, it helps with parking, avoiding low obstacles, and backing out of tight spaces. For trucks and SUVs, it is even more useful because rear blind spots are larger. If you tow, a camera also helps line up a hitch or watch the trailer area.
In the USA, backup cameras became standard on new light vehicles under rear visibility rules. If you want the federal background, the NHTSA rear visibility overview is a good reference.
How Backup Cameras Work With Car Electrical and Display Systems
This is where most people get confused. A backup camera is not just a camera. It is part of a small system. That system needs power, a trigger, a display, and a clean signal path.
Power and Ground Basics
Most backup cameras run on the vehicle’s 12-volt electrical system. In real use, the voltage is usually around 12.4 to 12.7 volts with the engine off and about 13.5 to 14.7 volts with the engine running. The camera also needs a solid ground. If ground is weak or corroded, the picture may flicker, cut out, or show static.
On many aftermarket installs, the camera gets power from the reverse light circuit. That means the camera turns on only when the vehicle is in reverse. Some systems use accessory power instead, especially when a head unit wants a dedicated camera feed while using a separate trigger wire.
How the Reverse Signal Triggers the Camera
The car has to know when to show the image. On older and simpler setups, the reverse light wire provides that trigger. When the transmission is put in reverse, the reverse light circuit gets power, and the camera or display wakes up.
On newer vehicles, the trigger may come from the body control module, transmission control logic, or a CAN bus message. That is why factory systems can be harder to retrofit. The display may need an interface module to understand the reverse command and switch to the camera view.
How the Video Reaches the Screen
There are a few common ways the image gets to the driver:
- OEM factory screen with a factory camera or interface module
- Aftermarket radio with an RCA camera input
- Mirror monitor with a direct camera feed
- Wireless kit that sends video from the rear camera to a front display
Wired systems are usually more stable. Wireless systems are easier to install, but they can pick up interference from other electronics.
OEM Integration vs Aftermarket Integration
Factory backup camera systems are usually tied into more than just the screen. They may work with parking lines, parking sensors, steering angle data, and factory warning chimes. In those systems, the camera can be part of a larger network.
Aftermarket systems are more direct. They usually need:
- 12-volt power
- Ground
- Reverse trigger
- Video input to a screen
If you are adding a camera to a factory radio, you may need a vehicle-specific integration harness or interface. I often point DIY installers to Crutchfield’s backup camera installation guide because it explains adapter needs by vehicle.
Voltage, Battery, and Alternator Issues That Affect Camera Performance
This is the part many people miss. A backup camera can act up because of the car’s charging system, not because the camera itself is bad.
If battery voltage is low, the camera may not boot fast enough, especially on cold mornings. If the alternator is overcharging, undercharging, or creating electrical noise, you can see flicker, rolling lines, or random resets. If the car already has starting problems, test the battery and charging system before replacing camera parts.
| System Item | Typical Reading | Why It Matters |
|---|---|---|
| Battery voltage, engine off | 12.4 to 12.7V | Low voltage can cause slow camera startup or no image |
| Charging voltage, engine running | 13.5 to 14.7V | Low or unstable charging can cause flicker and resets |
| Reverse light feed | Near system voltage in reverse | Weak trigger voltage can stop the display from switching |
| Camera current draw | About 0.1 to 0.3A | Useful for diagnosing shorts or failed camera modules |
| Display power draw | About 0.5 to 1.5A | Important when adding fuse taps or accessory power |
| Ground voltage drop | Ideally under 0.1V | High drop points to a bad ground connection |
| Battery Type | Typical Resting Voltage | Camera-Related Notes |
|---|---|---|
| Lead-acid | About 12.6V | Most common in older vehicles; low charge can cause black screen or delayed image |
| AGM | About 12.7 to 12.8V | Handles accessories well, but poor charging still causes camera faults |
| Lithium 12V auxiliary systems | About 13.2V | Seen more in specialty builds and some modern platforms; requires compatible electronics |
If you want a solid refresher on battery behavior and charging, Battery University is useful for voltage basics.
How to Install or Replace a Backup Camera (Step-by-Step)
If you are installing an aftermarket camera or replacing a failed unit, this is the process I use.
- Pick the display method. Decide whether the camera will feed a factory screen, aftermarket radio, mirror monitor, or stand-alone display.
- Confirm the camera voltage requirement. Some cameras accept a wide 12V input. Others need a regulated feed.
- Find the reverse trigger wire. Usually this is at the tail light harness, but on some vehicles it is better to pull the trigger from the front with an interface module.
- Test voltage with a multimeter. With the key on and the transmission in reverse, verify the trigger circuit actually supplies proper voltage.
- Make a clean ground connection. Bad ground is one of the most common causes of a weak or unstable image.
- Route the video cable away from noisy wiring. I avoid long parallel runs next to high-current wires whenever possible.
- Connect the display input. For aftermarket radios, that is usually the rear camera RCA input plus a reverse signal wire. For OEM screens, it may require a dedicated interface.
- Test before reassembling trim. Check image quality, guidelines, trigger timing, and nighttime visibility before closing everything up.
If the car uses a smart electrical architecture or CAN bus-controlled reverse signal, an OBD2 scanner and the right install interface can save a lot of time. On some vehicles, the camera works only after coding or calibration.
Best Backup Camera Integration Types Explained
OEM Factory Screen Integration
This looks the cleanest and keeps the dashboard stock. It is usually the best choice if your vehicle already has a factory screen that supports a camera input. The downside is cost and complexity. Some vehicles need interface modules, coding, or camera retention harnesses.
Aftermarket Radio Integration
This is my favorite option for older vehicles that already have an aftermarket head unit with a camera input. Wiring is usually straightforward, and image quality is often better than cheap mirror monitors.
Mirror Monitor Integration
This is a good solution when the car has no factory screen and you do not want to replace the radio. It is simple, practical, and often works well for sedans and compact SUVs.
Wired vs Wireless Backup Camera Systems
Wired cameras are more dependable. Wireless kits are easier to install and great for quick upgrades, but signal delay and interference can happen, especially around dense electronics or long vehicles.
| Integration Type | Best For | Pros | Cons |
|---|---|---|---|
| OEM factory screen | Clean stock look | Best appearance, often keeps factory features | May need interface module, coding, and higher cost |
| Aftermarket head unit | Older cars with upgraded radio | Good image quality, easy camera input, flexible | Requires head unit support and proper reverse wiring |
| Mirror monitor | Cars without a screen | Simple install, affordable, useful for DIY | Smaller display and less factory-like integration |
| Wireless kit | Fast installation | Less cable routing, good for simple upgrades | Possible interference, lag, and weaker reliability |
| System Type | Signal Stability | Install Difficulty | Best Use |
|---|---|---|---|
| Wired backup camera | High | Medium to high | Daily driving, towing, long-term reliability |
| Wireless backup camera | Medium | Low to medium | Quick installs, garage parking, light-duty use |
Common Backup Camera Problems and How to Fix Them
These are the faults I see most often in real vehicles.
| Symptom | Likely Cause | What to Check | Fix |
|---|---|---|---|
| Black screen in reverse | No power, blown fuse, no trigger | Check reverse wire voltage and fuse | Restore power, replace fuse, repair trigger circuit |
| No signal message | Bad video connection or bad camera | Inspect RCA or factory connector | Reconnect wiring or replace failed camera |
| Flickering image | Weak ground, voltage drop, alternator noise | Measure ground drop and charging voltage | Clean ground, reroute wiring, address charging issue |
| Image upside down or mirrored wrong | Camera setting or wiring loop cut incorrectly | Check camera setup instructions | Reset orientation or correct jumper wire |
| Works only sometimes | Loose connector or moisture intrusion | Move harness while testing and inspect seals | Dry, reseal, or replace damaged connector |
| Camera dead after battery service | Module reset, fuse issue, low voltage memory problem | Check fuse, scan modules, verify battery voltage | Reset system, charge battery, repair power feed |
| Battery dead overnight | Camera wired to constant power incorrectly | Measure parasitic draw | Move camera to switched or reverse-controlled power |
| Car won’t start after install | Short circuit, wrong fuse tap, drained battery | Check fuse panel, battery voltage, and cranking | Repair wiring, charge battery, correct power source |
Why a Weak Battery Can Mimic a Camera Problem
If the camera is slow to appear, the screen reboots, and the car also cranks slowly, I start with the battery. In cold weather, low CCA performance and low resting voltage can cause all kinds of electronic complaints. Do not blame the camera first.
How Alternator Problems Show Up on the Screen
If the image gets noisy only with the engine running, the alternator or a bad ground path may be the real issue. A charging system with unstable output can create flicker or horizontal interference. This is especially common on cheaper camera kits or poor-quality power filters.
Cold Weather and Moisture Failures
Winter causes two common problems: low battery voltage and moisture inside the camera housing. If the image is cloudy in the morning and clear later, the lens or housing seal may be failing. If the image disappears during cranking, battery condition is the first thing I test.
Common Mistakes to Avoid

- Using constant power when the camera should be reverse-switched. That can drain the battery overnight.
- Grounding to painted or rusty metal. A poor ground causes unstable operation.
- Skipping a fuse. Any added power feed should be protected.
- Running video wire next to heavy-current power wiring. That can add interference.
- Guessing on wire color. Always verify with a multimeter because wire colors vary by model year.
- Ignoring the charging system. If the alternator or battery is weak, the camera may only be showing a larger electrical problem.
- Forcing OEM integration without the right interface. Modern vehicles often need a proper module to talk to the factory screen.
Pro Tips and Best Practices
- Use weatherproof connectors at the rear of the vehicle.
- Apply dielectric grease where moisture is a known problem.
- Check reverse voltage at the camera, not just at the taillight.
- Measure voltage drop on both power and ground when troubleshooting.
- If the camera fails only with the engine running, test charging voltage before replacing parts.
- For towing, choose a wired system if reliability matters more than install speed.
- For factory screens, buy the correct vehicle-specific interface instead of universal guessing.
- Keep a scan tool handy on newer vehicles because some faults live in the infotainment or BCM side of the system.
Tools I Recommend for Backup Camera Wiring and Diagnostics
These are the tools and product types I reach for most often when dealing with camera integration, low-voltage complaints, and wiring issues.
- Digital multimeter: for checking 12V power, ground quality, and reverse trigger voltage
- Trim removal tools: for routing cables without damaging interior panels
- Fuse tap kit: for clean accessory power connections
- OBD2 scanner: useful on vehicles with factory screen integration and module communication faults
- Quality camera kit: better night vision, better waterproofing, better long-term reliability
Good for quick installs when you want less cable routing and a simple monitor setup.
Wired Backup Camera Kit for Aftermarket Radios
Best for stable video, daily driving, towing, and long-term use without wireless interference.
Automotive Digital Multimeter
This is the one tool that saves the most time when checking reverse power, grounds, and voltage drop.
FAQ
How does a backup camera connect to a car?
A backup camera connects through power, ground, a reverse trigger, and a video link to a screen. Factory systems may also use a control module or CAN bus communication.
Does a backup camera need constant power?
Not always. Many cameras use reverse light power so they turn on only in reverse. Some systems use accessory power plus a separate trigger wire for faster switching.
Can I add a backup camera to my factory radio?
Yes, if the radio supports camera input or you use the right vehicle-specific interface module. Some factory radios cannot accept a camera without added hardware.
Why is my backup camera screen black when I shift into reverse?
The most common causes are no power, a bad ground, a blown fuse, or no reverse trigger signal. I test voltage at the camera first.
Can a weak battery affect a backup camera?
Yes. Low battery voltage can cause delayed startup, a black screen, or system resets, especially in cold weather or on vehicles with existing starting problems.
Is wired or wireless backup camera integration better?
Wired is usually better for reliability and image stability. Wireless is easier to install, but it can have interference or delay.
Conclusion
Backup cameras are simple to use, but the way they integrate with a car is more technical than most people expect. Power, ground, reverse signal, screen compatibility, and charging-system health all matter. If you diagnose those basics first, you can solve most camera problems without wasting money on parts. If you are planning an upgrade, choose the integration style that matches your vehicle and how you actually drive.


