Mount high, centered, and level for range; mount low for laser sensitivity.
If you want better alerts, fewer false beeps, and real protection, placement matters more than price. In this radar detector placement tips guide, I’ll show you where and how to mount for maximum performance, drawn from years of daily driving, testing across highways and city streets, and helping friends fix poor installs.

Why Placement Matters: The Physics Of Detection
Radar and laser rely on line of sight. Your detector needs a clear view of the road ahead. A small change in angle or height can change how soon it sees a signal.
Key points that shape range and reliability:
- Antenna alignment matters. A level, forward-facing detector hears more, sooner.
- Higher is usually better for radar. It clears the hood and catches reflections off big vehicles.
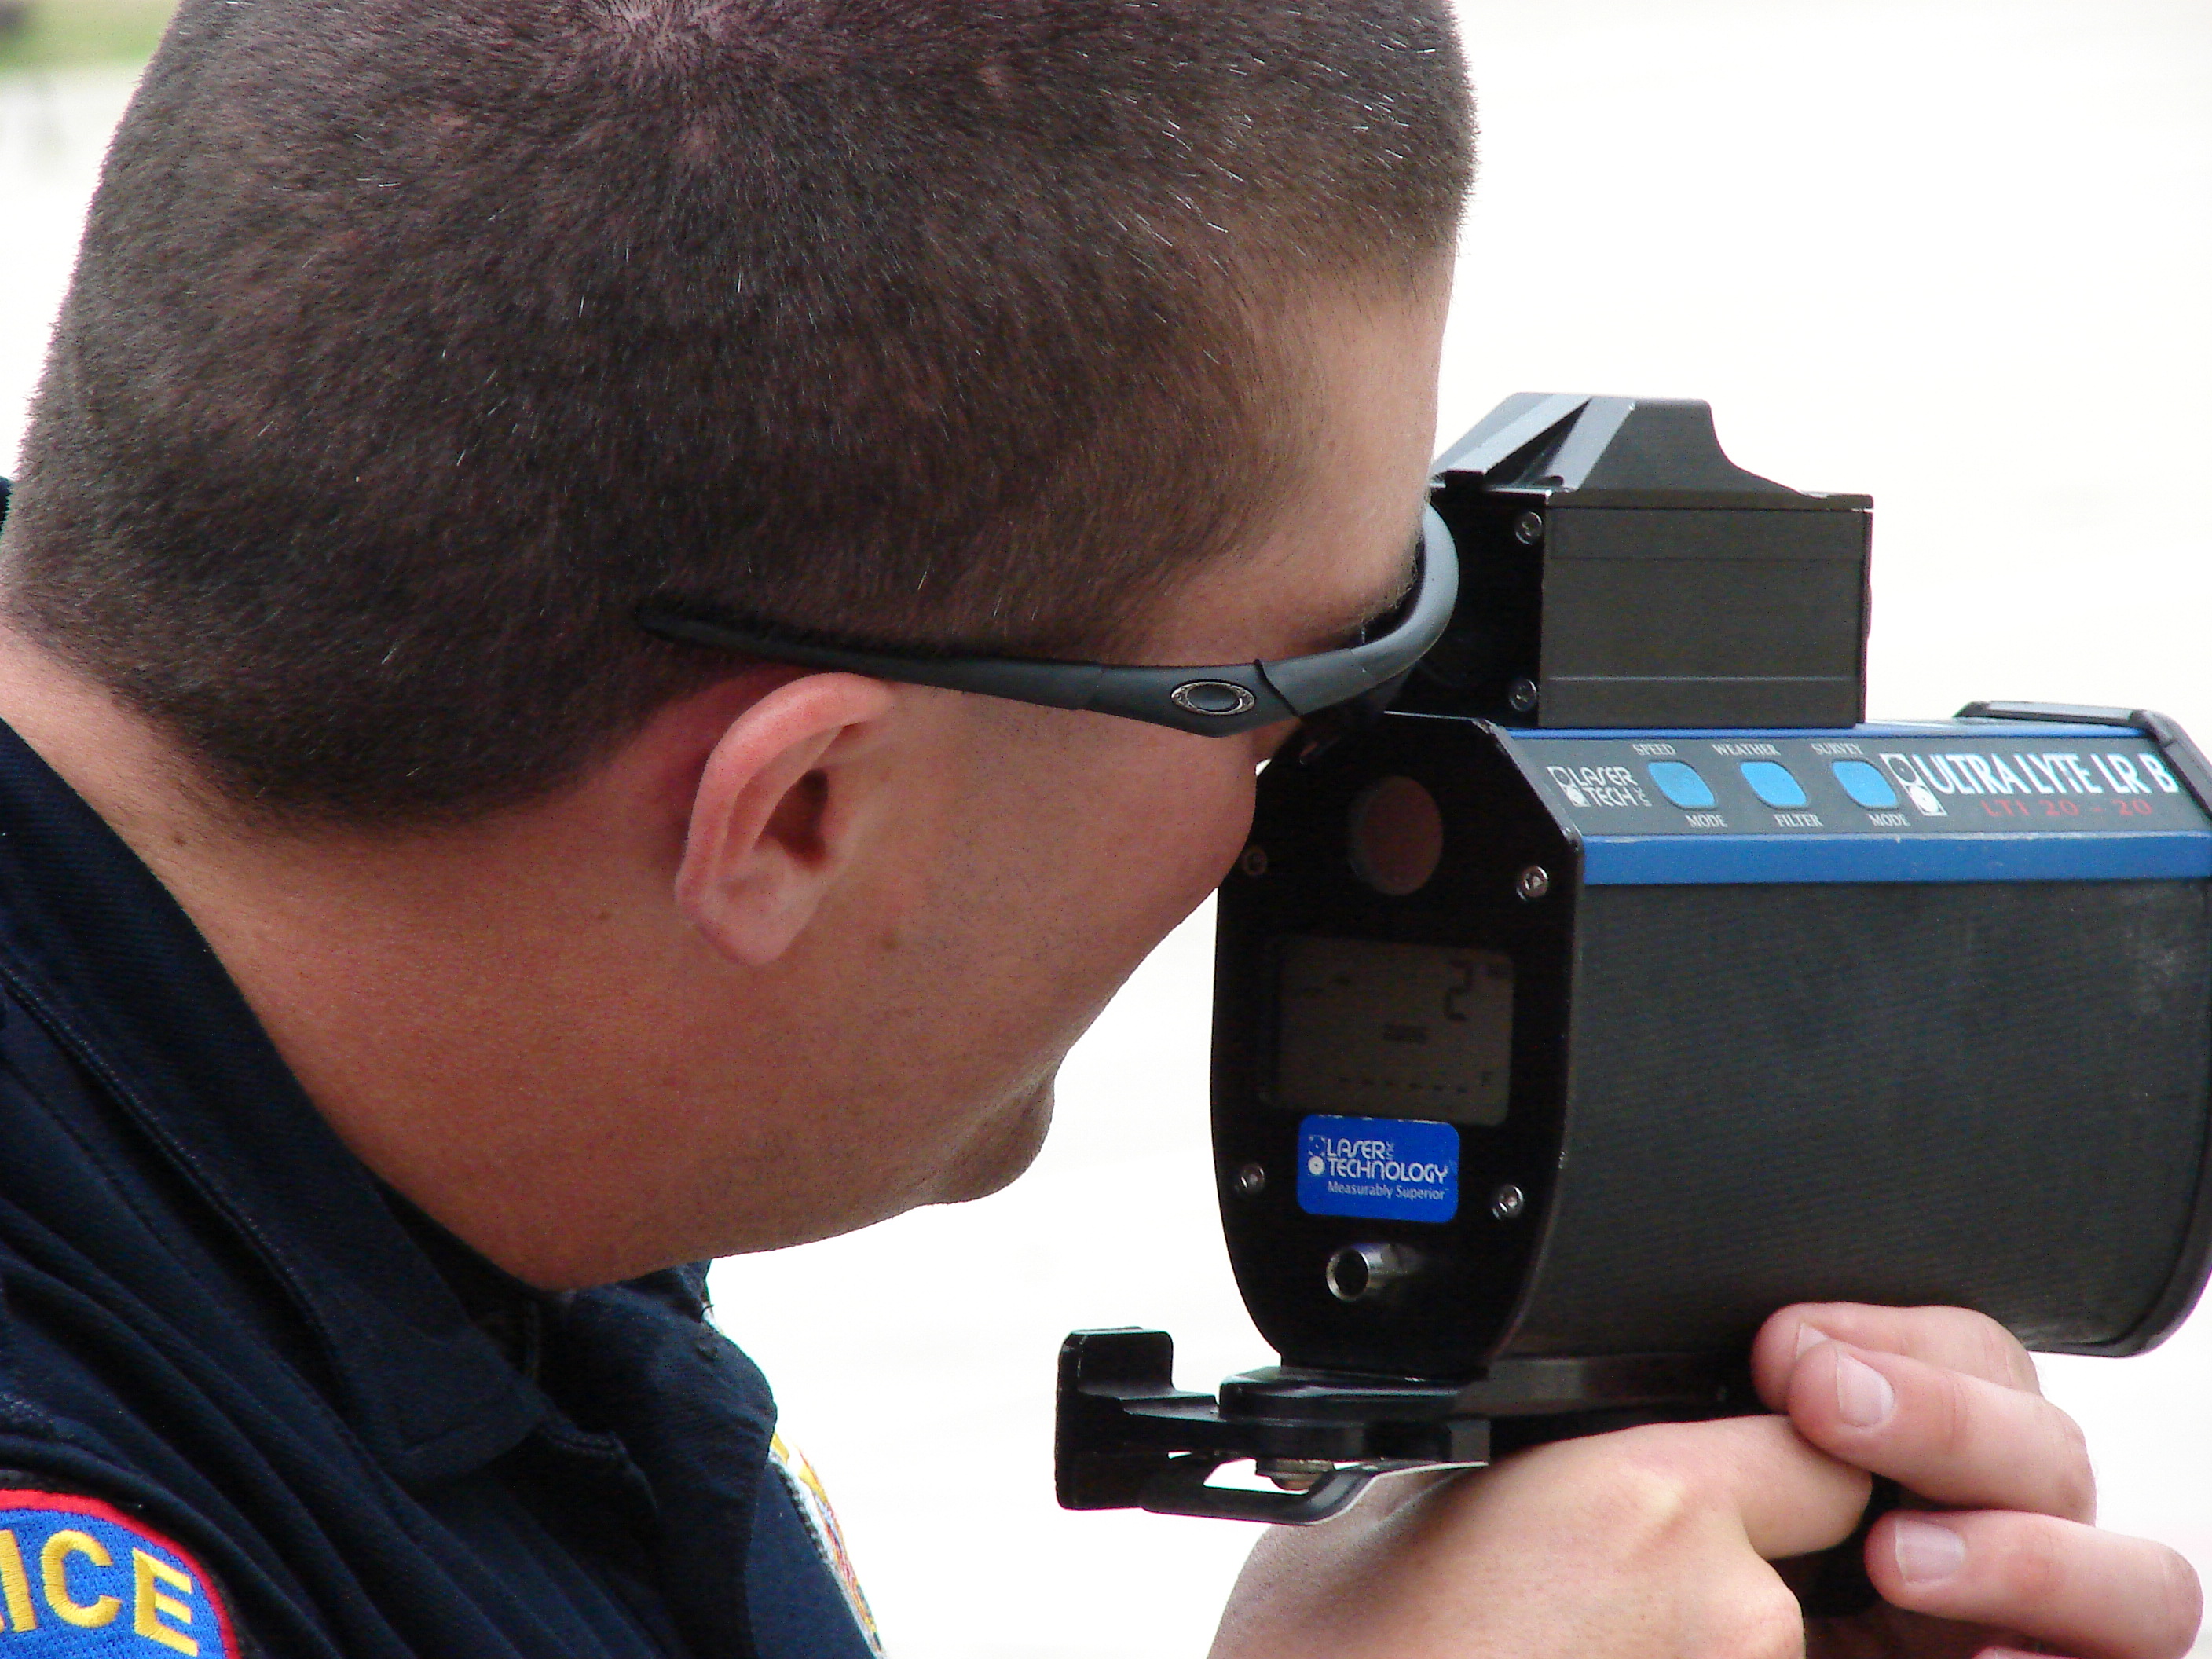
- Laser is different. Police aim at your plate or headlights, so low mounts see more lidar.
- Hills and curves reduce range. Extra height helps see over cars and rises.
- Windshields can block signals. Metallic or heated glass can cut detection distance.
I learned this the hard way. A friend had a premium detector low and crooked on a cluttered dash. We raised it near the mirror, leveled it, and his highway alerts came 5 to 8 seconds earlier. That simple change is the core of this radar detector placement tips guide.
Legal And Safety Basics You Should Know
Before you mount, know the rules:
- Radar detectors are illegal in Virginia and Washington, D.C. in passenger vehicles.
- They’re illegal in commercial vehicles over 10,000 lbs nationwide.
- Radar jammers are illegal everywhere under federal law. Laser jammers face state-specific rules.
- Some regions have windshield obstruction laws. Keep your detector small, tidy, and not in the driver’s line of sight.
Safety first:
- Keep wires out of the airbag path and pedals.
- Do not block your forward view.
- Use a secure mount so bumps don’t tilt the unit.
This radar detector placement tips guide is about doing it right and doing it legal. Always check your local laws.

Best Mounting Locations For Real-World Driving
The right spot depends on your goals. Here’s how I set them up in my cars and test runs.
High Mount: Near The Rearview Mirror
- Best for radar range, especially Ka-band.
- Clear line of sight over cars and hills.
- Less sun glare and fewer reflections from the hood.
- Use a mirror-mount or a clean suction mount just below any tint band.
Watch out:
- Avoid metallic or athermic tint bands. They can kill sensitivity.
- Confirm it is level left-to-right and front-to-back.
Mid Mount: Upper Center Of The Windshield
- A good compromise if mirror mounting is tough.
- Keep it centered, not off to the side.
- Keep it level and away from dotted frit if it’s metallic.
Low Mount: Above The Dash
- Better chance to catch laser scatter.
- Handy in cars with steep windshields or tall hoods.
Trade-offs:
- Lower radar range in traffic.
- More reflections and heat. Use only if lidar is your main concern.
My rule of thumb from this radar detector placement tips guide:
- Pure radar performance: mount high and centered.
- Mixed radar and laser risk: mount mid-high and consider a dedicated laser countermeasure if legal.
- Laser-heavy areas: remote laser sensors plus a high-mounted detector for radar.

Step-By-Step Placement Checklist
Use this quick path to a solid install.
- Pick your goal
- Max radar range: choose a high, centered spot.
- Better laser sensitivity: go a bit lower or add laser sensors.
- Check the glass
- Look for metallic tint, heated zones, or athermic glass.
- If present, move outside those areas.
- Test-fit for level and view
- Sit in your seat. Make sure it does not block your view.
- Confirm the detector points straight ahead.
- Secure the mount
- Clean the glass with alcohol.
- Press the mount firmly to seat the cups. Or use a mirror-mount for stability.
- Route power safely
- Hardwire to an accessory circuit or use a mirror tap.
- Tuck the cable along the headliner and A-pillar.
- Calibrate and test
- Use the bubble level in your phone to fine-tune angle.
- Take a known route and note alert distances.
This radar detector placement tips guide works best when you test and adjust. A small tilt fix often adds seconds of warning.

Vehicle And Glass Considerations
Not all windshields are equal. Some reduce performance.
What to look for:
- Athermic/IR-reflective windshields: often have a purple or bronze hue. They block radar.
- Heated windshields: thin wires can slightly reduce sensitivity.
- Metallic tint bands: avoid mounting behind them.
- Toll transponders and dash cams: keep some space to prevent blockage or reflection.
Tips from the field:
- If your main glass is metallic, try the dotted area around the mirror only if it’s non-metallic. Or use a remote-mounted system with external antennas.
- SUVs with tall cabins often benefit from a slightly higher mount for line of sight.
- Trucks with steep windshields do well with a mid-high, very level mount.
This radar detector placement tips guide recommends a test drive after any move. Your route will tell the truth.
Setup And Calibration After You Mount
A good spot still needs good settings.
Do this next:
- Level check: Use a phone level app. Keep it parallel to the road.
- Band settings: Enable Ka-wide or your device’s recommended segmentation. Keep K-band on if local police use it.
- Filters: Turn on BSM and TSR filters to cut false alerts from cars and traffic sensors.
- GPS features: Enable auto-learn or manual lockouts for door openers and store alarms.
- Firmware: Update before your first big trip.
Field test plan:
- Drive a loop with known speed signs or common patrol areas.
- Note alert distance and signal ramp-up.
- Make one change at a time and retest.
You’ll see why this radar detector placement tips guide stresses leveling and tuning. It is free range.
Common Mistakes And How To Fix Them
These are the errors I see most in the wild.
- Crooked or tilted mount: Even a few degrees cuts range. Re-level with a phone app.
- Mounting behind metallic tint: Move below the band or use a mirror mount.
- Too low without purpose: Only go low if hunting lidar. Otherwise, mount higher.
- Blocked by accessories: Give space from dash cams, toll tags, and phone mounts.
- Dangling power wire: It’s a hazard and looks bad. Tuck or hardwire it.
If your alerts feel late, this radar detector placement tips guide suggests the 10-minute fix: raise it, center it, level it, and retest a known route.
Advanced Tips From Real-World Testing
If you want more than the basics, try these:
- Mirror-mount brackets: Rock-solid, stealthy, and ideal height.
- Hardwire kits: Cleaner installs, no dangling cords, auto power.
- Remote systems: External antennas and laser sensors beat windshield mounts in tough areas.
- Pair with crowd-sourced apps: Live reports complement your detector, not replace it.
- Seasonal tweaks: In winter, go slightly higher to see over snow on the hood. In summer, shade the unit when parked to protect the internals.
Pro note from this radar detector placement tips guide: no windshield detector reliably saves you from lidar alone. If laser is common near you and legal tools are allowed, consider dedicated sensors and learn the rules.
Maintenance And Seasonal Care
Your setup needs a little love to stay sharp.
- Clean the lens monthly: Dust scatters light and can reduce laser sensitivity.
- Re-seat suction cups: Heat and cold loosen them. Warm them and press firmly.
- Re-check level: Roads, bumps, and time shift the angle.
- Update firmware and databases: Stay current on filters and fixed-camera data.
- Watch for rattles: Rattles can tilt the unit and add false noise.
A quick five-minute check keeps the promises of this radar detector placement tips guide alive on every trip.
Frequently Asked Questions Of Radar Detector Placement Tips Guide
Where should I mount my radar detector for best overall performance?
High and centered near the rearview mirror is best for radar range. Keep it level and avoid metallic tint bands.
Does a low mount help with laser detection?
Yes, laser is usually aimed at plates and headlights, so low mounts can help. Still, windshield units are limited against lidar without dedicated sensors.
Can tint or heated windshields block radar signals?
Metallic or IR-reflective glass can reduce range a lot. If your glass is athermic, consider a remote system or find a non-metallic area.
Is it legal to mount a detector on the windshield?
It depends on your state or country. Many places allow it, but some have obstruction laws—check local rules.
How do I know if my detector is level?
Use a phone level app placed on the top surface of the unit. Adjust the mount until it reads level front-to-back and side-to-side.
Will dash cams or toll tags interfere with my detector?
They can block part of the view or reflect signals. Leave a small gap and avoid stacking devices in one line of sight.
How often should I update my detector’s firmware?
Check every few months or before long trips. Updates improve filtering and performance.
Why am I getting late alerts even with a good detector?
Placement or angle is often the culprit. Raise it, center it, level it, and retest on a known route.
Do SUVs and trucks need different placement?
Often a slightly higher, very level mount works best due to taller cabins. Make sure the unit clears the hood and wipers.
Can I rely on a detector for all enforcement types?
No. Detectors help with radar and sometimes with laser alerts, but they are not foolproof. Drive smart and use legal, complementary tools.
Conclusion
Great protection starts with smart placement. Mount high and centered for radar range, go lower only if you need more laser sensitivity, and always keep it level and clear of obstructions. Test, adjust, and update.
Put these steps from this radar detector placement tips guide into action on your next drive. You’ll get earlier alerts and less noise. Want more tips and hands-on tests? Subscribe, bookmark this guide, and share your setup questions in the comments.


