Quick Answer: Adjust your phone holder so the screen sits just below your natural sightline, slightly to one side of the steering wheel, without blocking the road, vents, or controls. Tilt the screen to reduce glare, keep the mount tight, and make sure the map stays easy to read over bumps.
I’ve set up phone mounts in compact cars, SUVs, pickups, and rental cars, and the same rule always matters most: the map should be easy to glance at without dragging your eyes too far off the road. I’m Michael Reynolds, and I’ll show you how to place, angle, and secure a phone holder so navigation feels clean, safe, and stress-free.
Basic Explanation: What Adjusting a Phone Holder for Navigation Really Means
Adjusting a phone holder for navigation is more than clipping a mount onto a vent and calling it done. You are really setting three things at once: screen position, screen angle, and mount stability.
The screen position decides how far you need to move your eyes. The screen angle affects glare and readability. The mount stability decides whether the phone stays usable when the road gets rough.
A good setup lets you glance at directions quickly, keeps the phone secure, and does not block your view or the controls you use every day.
Screen Position
Your phone should sit close to your natural line of sight, but not in the middle of your windshield. I usually aim for a spot just below eye level and a little to the right or left of the wheel, depending on the vehicle layout.
Viewing Angle
The display should face you directly enough that you can read the map without twisting your head. A small tilt often makes a big difference, especially in bright daylight.
Stability and Reach
The holder should stay firm over bumps, and the phone should be reachable when the car is parked. If you have to lean forward, stretch, or fight the mount, the setup needs work.
Why Proper Phone Holder Adjustment Matters
A poorly adjusted mount can make navigation harder instead of easier. If the screen sits too low, you look down too far. If it sits too high, it can block part of your view. If it shakes, you spend more time trying to read the map than driving.
Good adjustment helps in a few practical ways:
- It shortens the glance you need to check the route.
- It makes the screen easier to read in sunlight and at night.
- It reduces the urge to grab or reposition the phone while driving.
- It keeps the mount from loosening on bad pavement.
For extra safety reading, see NHTSA distracted driving guidance and Consumer Reports’ guide to choosing a cell-phone mount.
How a Phone Holder for Navigation Should Work
A navigation mount should do one job well: keep directions visible without turning the phone into a distraction.
Keep the Screen Close to Your Natural Line of Sight
You should be able to glance at the screen the same way you glance at a gauge or mirror. The farther the screen is from that sightline, the longer your eyes stay off the road.
Avoid Blocking Vents, Controls, and Airbag Areas
The best mount position is never the one that covers something important. If the holder blocks climate knobs, hazard buttons, a touch screen, or an airbag deployment area, move it.
Lock the Mount So It Stays Readable Over Bumps
The map must stay steady enough to read street names and turn arrows. If the phone bounces or droops, tighten the joint, shorten the arm, or move the mount to a firmer spot.
How to Adjust Phone Holder for Navigation Step by Step
Step 1: Pick the Best Mounting Spot
Start with the place that gives you a clear view without blocking the windshield or dashboard controls. In most cars, that means one of these areas:
- low dashboard, near the center stack
- left or right side vent, if the vent is strong and well placed
- cup holder, if dash and vent options are awkward
I avoid placing the phone dead center in front of the windshield view. That may feel convenient at first, but it often creates visual clutter.
Step 2: Set the Right Height
The phone should sit high enough that you do not need to look down to your lap area, but low enough that it does not sit in your forward field of view. A good target is just below your sightline when you are seated in your normal driving position.
If you have to drop your chin to read the map, raise it a bit. If the mount competes with what you see through the windshield, lower it.
Step 3: Angle the Screen to Cut Glare
Rotate and tilt the mount until the display faces you directly. Then make small corrections for sunlight. Even a slight upward or downward tilt can cut reflections in a big way.
I check glare with the engine on, because real lighting inside the cabin often changes once the dash lights and windshield reflections come into play.
Step 4: Check Reach and Charging Cable Path
If you use charging during navigation, route the cable so it does not hang over the shifter, steering wheel, or climate controls. A clean cable path makes the whole setup feel better.
Also make sure you can dock and remove the phone easily while parked. One-handed use matters more than people think.
Step 5: Tighten and Road-Test the Setup
Once the position feels right, tighten every adjustable point. Then take a short drive on a normal road, not just a smooth parking lot. Watch for shaking, slipping, glare, and awkward reach.
If the map moves around on bumps, shorten the mount arm if possible. A shorter arm usually means less vibration.
Best Mount Position by Holder Type
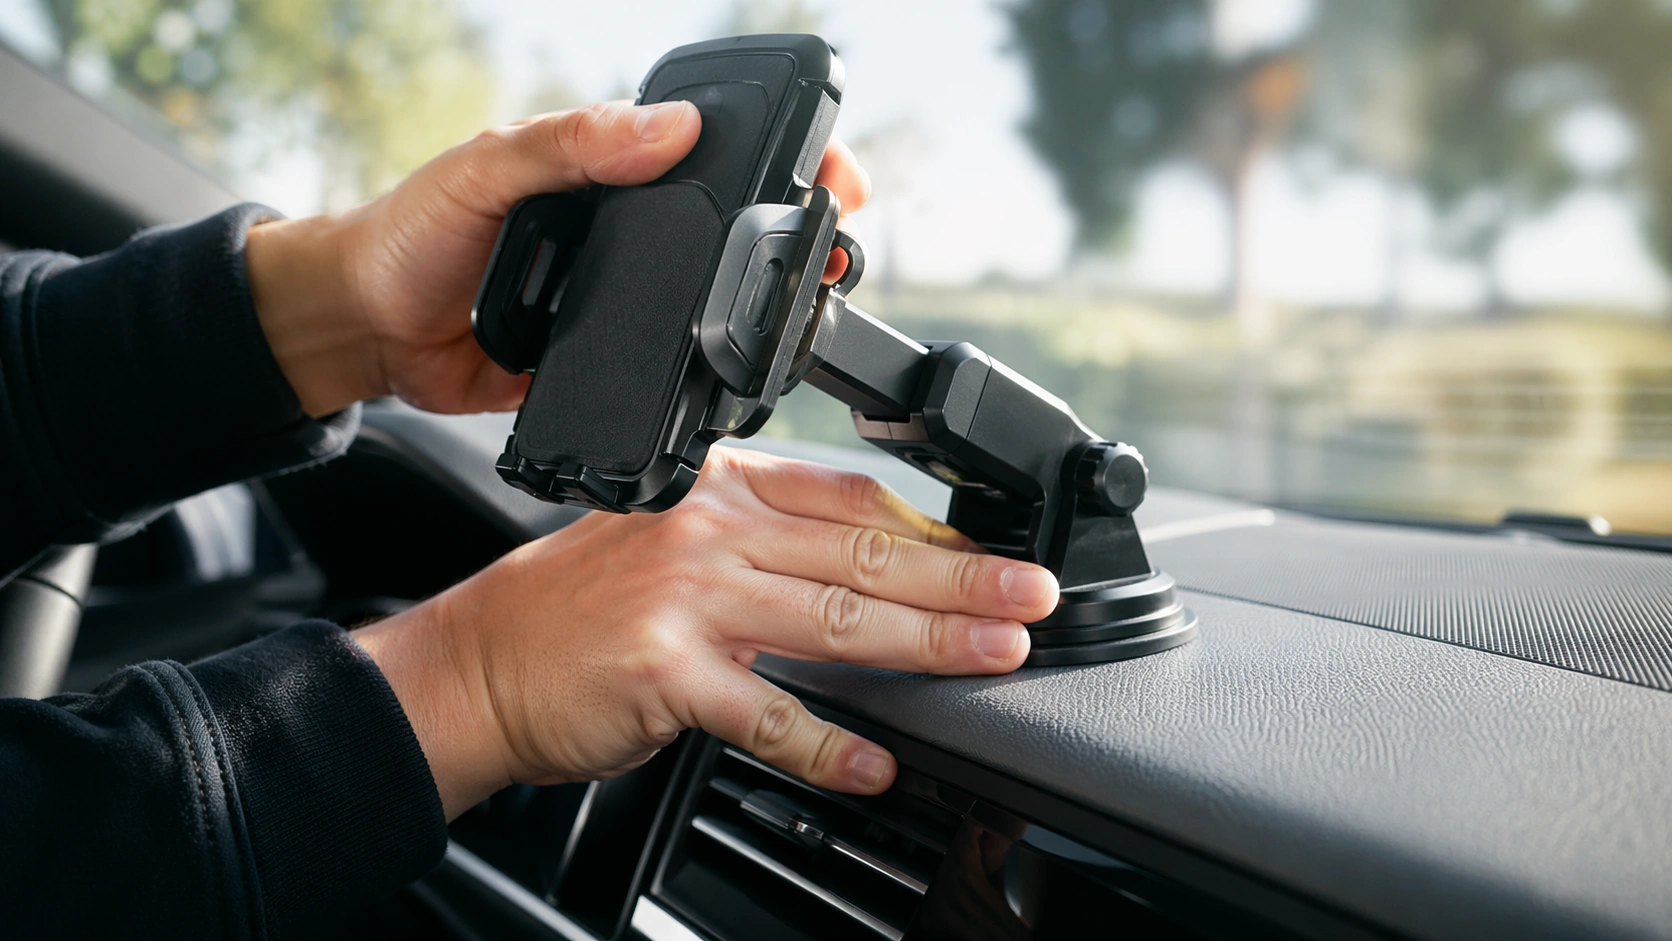
Dashboard Mount
A dashboard mount is one of my favorite choices for navigation because it usually gives a stable base and flexible placement. Put it low enough to stay out of your main view, but high enough to keep directions easy to scan.
This style works well if your dash has a flat, solid surface and you want a clean, fixed setup.
Vent Mount
A vent mount can work great if the vent sits close to your sightline and the vent blades are sturdy. Adjust the phone so it does not block airflow more than necessary and does not sit too close to the wheel.
Vent mounts are simple, but they can sag if the vent blades are weak or if the phone is heavy.
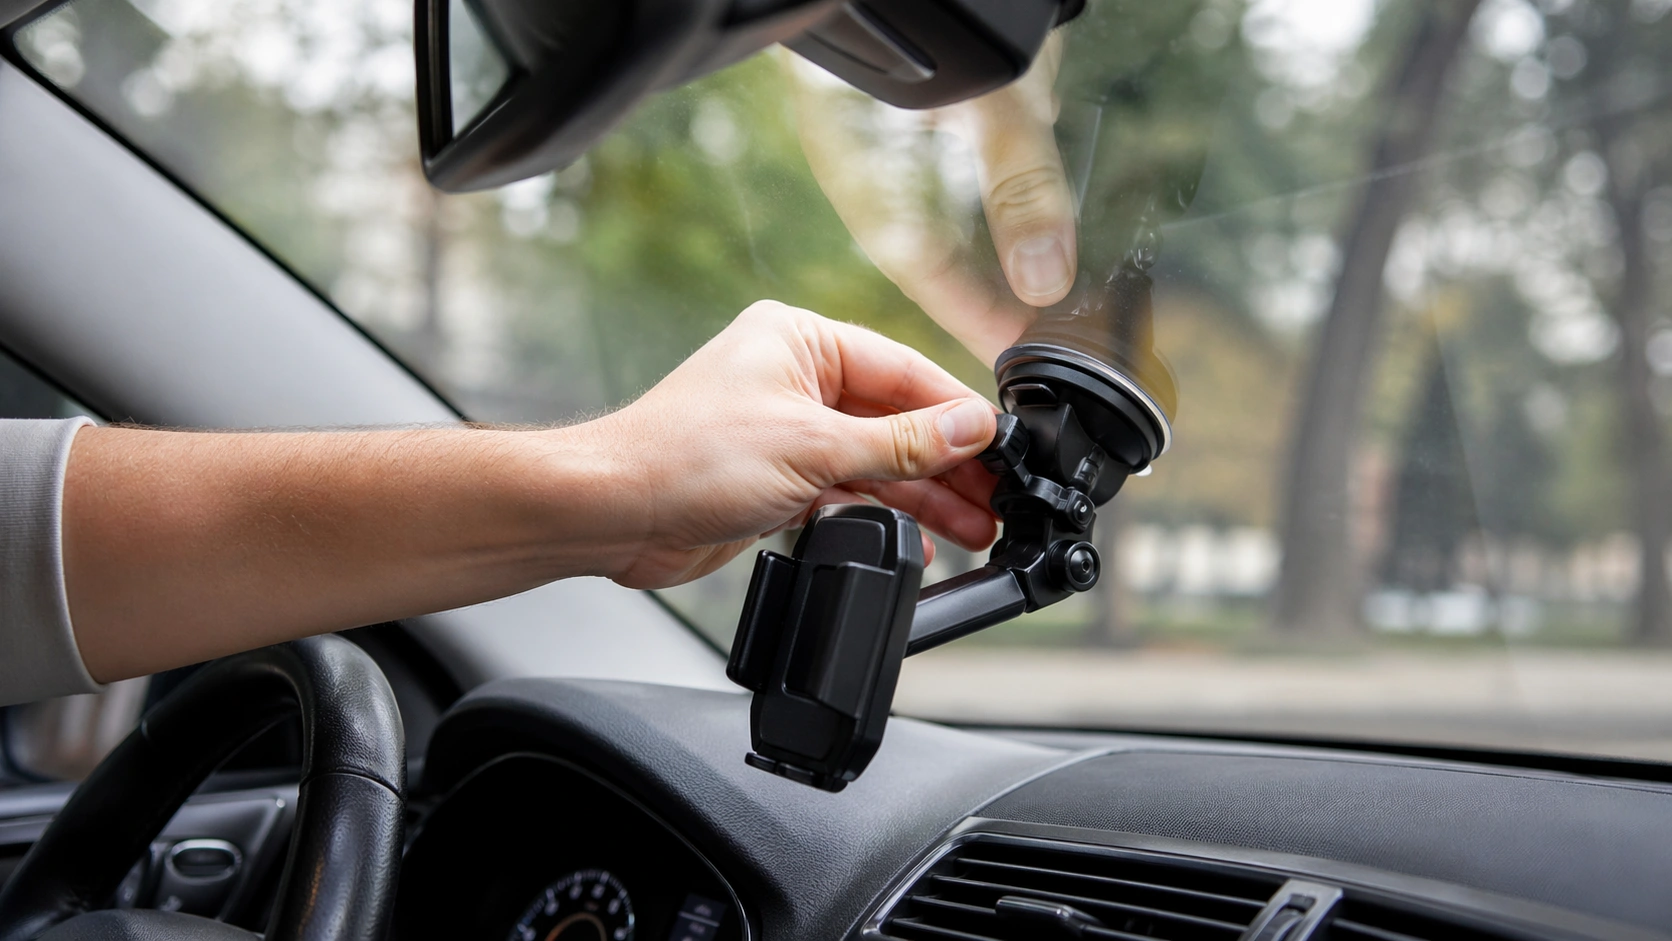
Windshield Mount
A windshield mount can put the screen in a very easy-to-read spot, but it needs careful placement. Keep it low and off to the side so it does not interfere with your view. I only use this style when the dash shape makes other options worse.
Before using one, make sure the position works for your local rules and your vehicle layout.
Cup Holder Mount
A cup holder mount is a smart backup when your vents are weak, your dash is curved, or you do not want adhesive on the dashboard. Set it high enough to read comfortably, but not so high that it blocks climate controls or the infotainment screen.
This type usually keeps the windshield clear, but in some cars it can place the phone a little lower than ideal.
Common Problems and Fixes
| Problem | Likely Cause | Simple Fix |
|---|---|---|
| Phone mount shakes | Long arm, weak vent, loose joint | Tighten joints, shorten the arm, or move to a firmer mount point |
| Screen sits too low | Mount is installed too far down | Raise the mount slightly or switch to a dash mount |
| Screen catches glare | Poor tilt angle or direct sunlight | Re-angle the display and rotate it slightly toward the driver |
| Holder keeps slipping | Dirty surface or weak suction/clip fit | Clean the surface and remount on a flatter, firmer area |
| Cable gets in the way | Poor charging cable routing | Route the cable behind trim lines or use a shorter cable |
Phone Mount Shakes
This usually comes from a weak base or too much extension. I see it often with long-arm mounts placed on textured dash surfaces. Move the mount to a smoother area or use a shorter setup.
Screen Sits Too Low
If the phone is near shifter height, it is too low for comfortable navigation. Raise it until your glance feels shorter and more natural.
Screen Catches Glare
Glare usually means the screen angle is wrong, not the location. Tilt the phone a few degrees at a time until reflections drop. Small changes matter.
Holder Keeps Slipping
Clean the dash or windshield before reattaching the mount. Dust, interior protectant, and heat can all make suction or adhesive perform worse.
Cable Gets in the Way
Route the cable before you commit to the final mount angle. A messy cable can turn a good setup into an annoying one fast.
Common Mistakes to Avoid
- Mounting the phone too high and crowding your windshield view
- Mounting the phone too low and forcing long downward glances
- Blocking climate controls, hazard buttons, or the infotainment screen
- Using a weak vent mount with a heavy phone
- Ignoring mount vibration until it becomes a daily problem
- Trying to fine-tune the holder while the vehicle is moving
The biggest mistake I see is people choosing a mount location first and then trying to live with it. Start with visibility and reach, then choose the position that supports both.
Pro Tips and Best Practices
- Set up the holder while parked, not in traffic.
- Test the angle in daylight and again at night.
- Recheck the mount after a hot day or cold morning.
- Clean the screen and mount surface regularly.
- If you use a thick case, make sure the holder grips it securely.
- If your road surfaces are rough, prioritize a shorter and sturdier mount arm.
My personal rule is simple: if I need more than a quick glance to read the next turn, the holder still needs adjustment.
Helpful Tools and Mount Options
If your current holder still feels awkward after adjustment, the problem may be the mount style itself. These are the kinds of options I’d look at for navigation-focused driving setups.
Spigen OneTap Pro 3 Cryomax
Good for drivers who want a strong magnetic hold and charging support for long navigation sessions.
iOttie Easy One Touch 5
Great if you want easy one-hand mounting and flexible positioning on the dash or windshield.
TOPGO Cup Holder Phone Mount
A smart choice when vent placement is poor and you want to keep the windshield and dash cleaner.
Dashboard vs Vent vs Cup Holder Mount for Navigation
| Mount Type | Best For | Main Advantage | Main Drawback |
|---|---|---|---|
| Dashboard Mount | Most daily drivers | Stable and easy to position | Needs a good flat surface |
| Vent Mount | Simple, quick installs | Easy to reach and remove | Can sag on weak vents |
| Windshield Mount | Cars with poor dash options | Often very easy to see | Can clutter the forward view |
| Cup Holder Mount | Cars with curved dashes or weak vents | No adhesive on dash or glass | Can sit lower than ideal |
If you want the cleanest navigation setup, I usually start with a dashboard mount, then try a vent mount, then fall back to a cup holder mount if the cabin layout is awkward.
FAQ
Where should I place my phone holder for navigation?
Place it just below your natural sightline and slightly to one side of the steering wheel, where it stays easy to read without blocking the road or dashboard controls.
Should a phone holder be at eye level?
Not exactly. It should sit near eye level, but a little lower is usually better so it stays out of your main windshield view.
Is a vent mount good for navigation?
Yes, if the vent is strong and well placed. If the vent blades are weak or the phone is heavy, a dash mount usually works better.
Why does my phone mount shake while driving?
Most shaking comes from a loose joint, a weak base, a long extension arm, or a vent mount that cannot support the phone’s weight.
Can I use a windshield mount in every state?
No. Windshield mount rules can vary, so check your local requirements and keep the holder out of your main view.
How tight should a phone holder be?
It should be tight enough that the phone does not droop, bounce, or rotate on bumps, but not so tight that it is hard to dock or remove the phone while parked.
Conclusion
The best phone holder adjustment for navigation is simple: keep the screen close to your sightline, angle it to beat glare, and secure it so directions stay readable on real roads. If your current setup makes you look down too far or keeps shaking, adjust it now or switch to a mount style that fits your car better.
About Michael Reynolds
I’m Michael Reynolds, and I spend a lot of time testing phone mounts, magnetic holders, charging mounts, vent clips, and dashboard setups in real-world driving. My focus is practical in-car visibility, low vibration, clean cable routing, and hands-free navigation that feels easy to live with every day.

